How to paint ceilings & walls with a paint sprayer
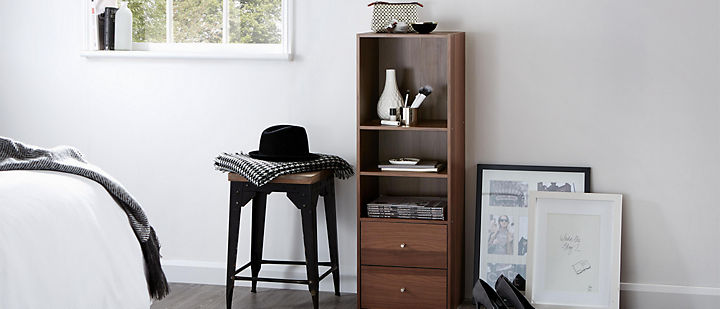
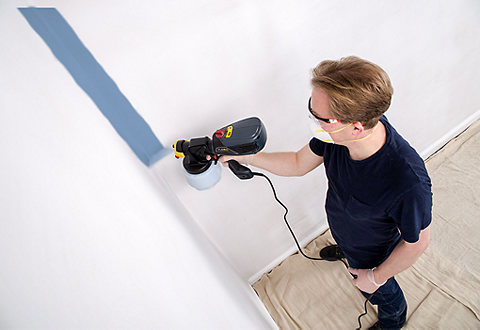
Decorating a room is fast when using a powered sprayer
Using a powered paint sprayer is a quick and efficient way to paint a room. The preparation time might feel longer, but the short time it takes to apply the paint quickly makes up for this.
Paint sprayers apply paint in a light directional mist that leaves an even finish without brush marks or dimples. A thinner and more uniform covering of paint is applied compared to using a traditional brush and roller, so the surface can be covered in fewer coats and less paint is needed overall.
In this guide we'll show you how to paint the ceiling and walls in a room using a powered paint sprayer.

Materials
- Interior emulsion paint - also known as wall and ceiling paint
- Masking tape
- Scrap of cardboard
Tools
- Powered paint sprayer
- Paint stirrer
- Sieve - if the paint can has previously been opened
- Polythene dust sheets - for masking surfaces
- Cotton dust sheets - for protecting floorings
- Bucket - for cleaning your sprayer after use
Safety kit
- Decorators coveralls or old clothes
- Safety goggles or glasses
- Dust mask and filter
- Shoe covers - to avoid walking paint into other rooms


The key to a great finish is good preparation. Before you get started applying paint to your walls and ceiling make sure that the surfaces you're tackling are smooth and clean, and that areas you don't want to paint are protected.
Our guide to preparing your walls for decorating will walk you through the steps to take to achieve the best finish.
Safety first
- We strongly recommend that you wear a dust mask and goggles whilst using a powered paint sprayer to avoid breathing in any paint spray, or getting any splashes of paint in your eyes.
- Whilst using a paint sprayer can be cleaner than a traditional roller, it's also a good idea to wear old clothes or a coverall, and shoe protectors to make sure you don't walk paint into any other part of the house.
When using a paint sprayer, take a few extra actions to ensure you get a clean, neat finish.


Step 1
All surfaces which are not going to be painted will need to be masked. This includes the walls if you are only painting the ceiling, or any walls which are not going to be the same colour.
The easiest way to do this is using polythene dust sheets held in place with masking tape. If you are only painting one wall (or the walls are different colours), apply masking tape and a protective polythene sheet to the adjacent wall to produce a neat edge, so that there's no need to cut in with a paint brush.
Step 2
Next, carefully cover radiators and any hardware fixtures and fittings that can’t be removed using polythene dust sheeting and masking tape. Skirting boards, door and window frames will also need to be masked.
Step 3
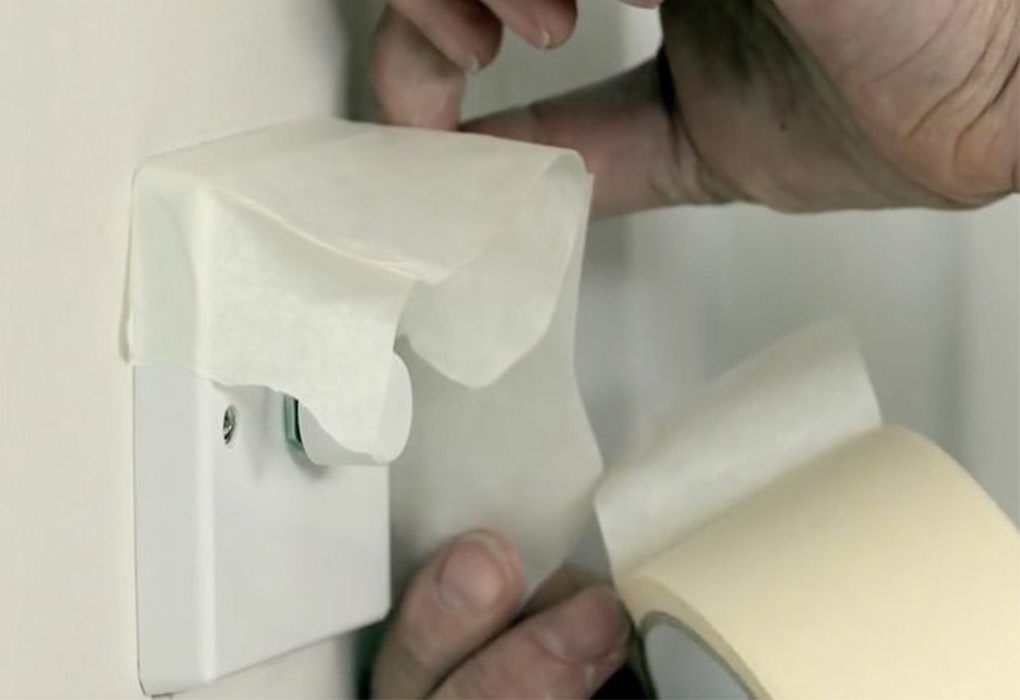
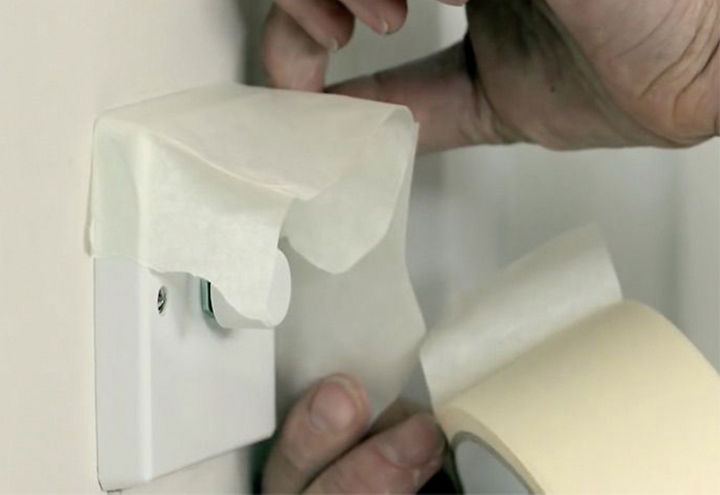
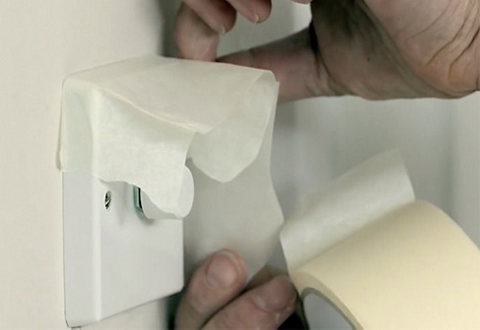
Completely cover switches, sockets, heaters and light fittings so that no paint can enter the electrical workings.
Some sprayer manufacturers include test sheets with their products. Spraying onto a test sheet will help you to perfect a spraying pattern and paint consistency that will give a good finish.
When using a paint sprayer, it may be necessary to dilute the paint ready to be sprayed. The amount of dilution required will depend on the original viscosity (thickness) of the paint.
It's important to test the paint you plan to use first. If it needs to be diluted, this can be done step-by-step to help you find the right consistency.


Step 1
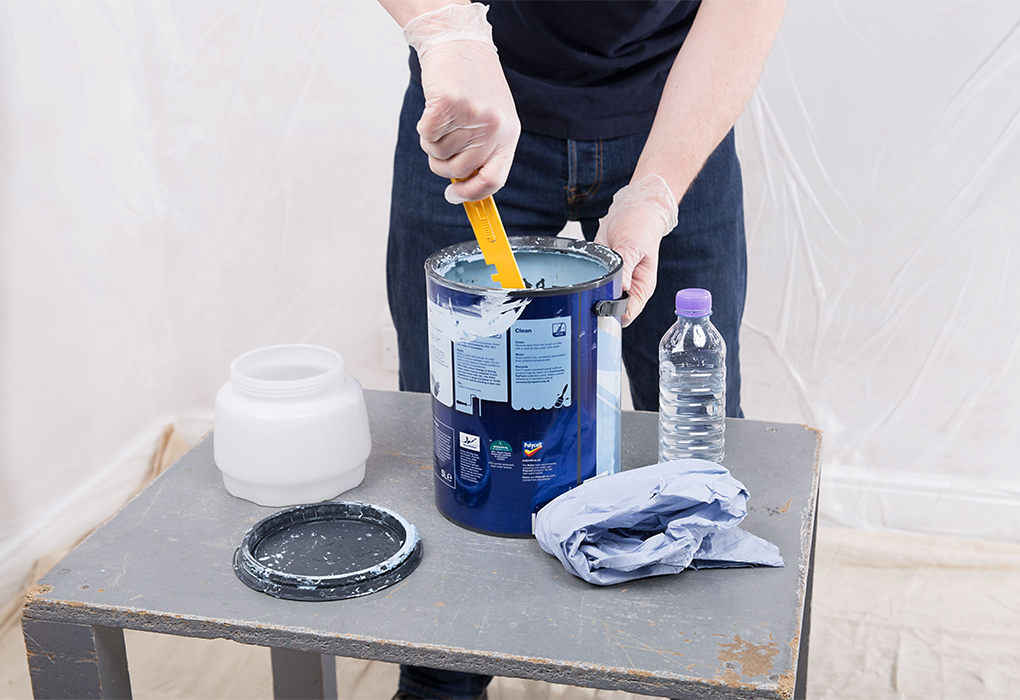
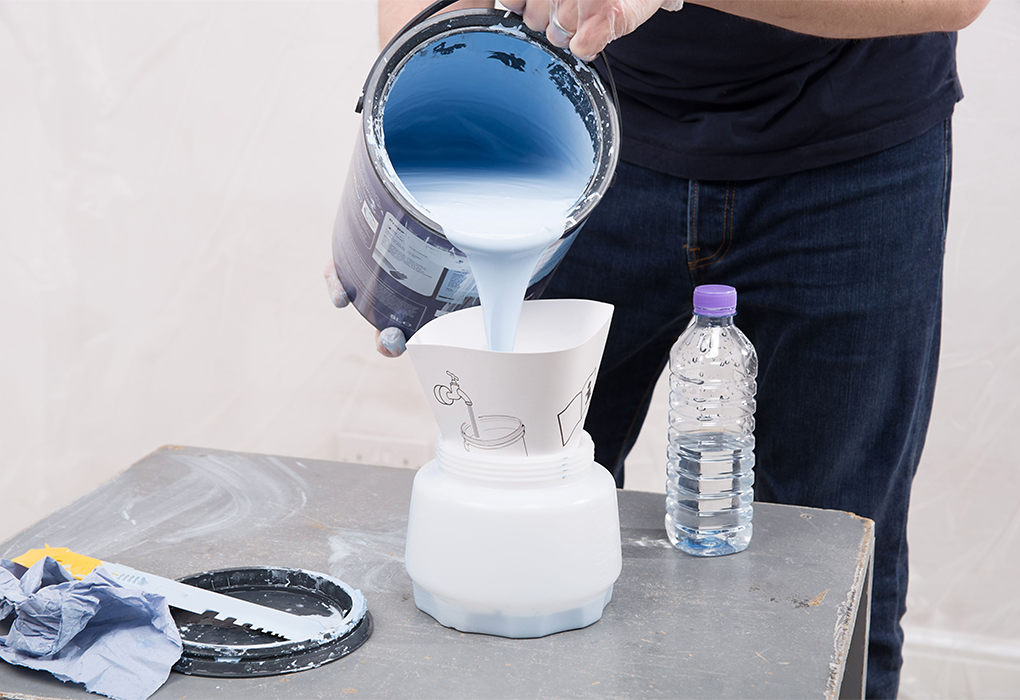
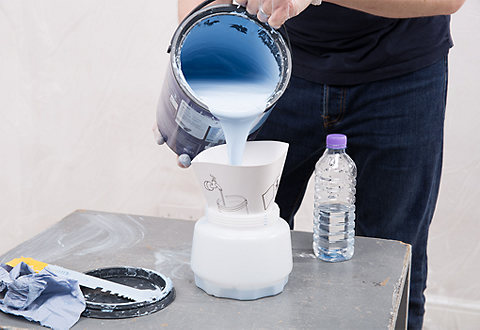
If you're using paint from a can that has previously been opened, begin by filtering out any lumps of paint skin using a sieve. This will help to prevent blockages of the spray attachment.
Once your paint has been sieved, or if you are using a fresh can of paint, next stir the paint well using a paint stirrer. Lift the stirrer from the paint and watch how the paint flows off it. If it runs freely and doesn't drip off in globules, it should be ready to spray.

Step 2
Fill the paint container of the sprayer to the level recommended by the manufacturer, and spray onto a test piece of cardboard.
If it sprays without splattering or clogging, and gives an even finish - You're ready to begin spraying your walls.
If the paint doesn't flow freely from the stirrer, or splatters when test spraying - It will need to be diluted. Check the paint can to determine what should be used for diluting - if it's a water-based paint this will be water, if not a appropriate thinner will be recommended. If you're using water as a thinner, make sure it's at room temperature to achieve the best consistency.
Start by adding 10% water or thinner to the paint (e.g. 10% = 100 millilitres (ml) of water or thinner to 1 litre (L) of paint). Do a test spray and see if the correct consistency has been reached. If not, continue to dilute the paint in 5% increments until the right consistency is reached, doing a test spray after each dilution.
A powered paint sprayer can make light work of painting a ceiling, especially if it's heavily textured. The technique is quicker than using a roller, so you'll spent less time working at height.
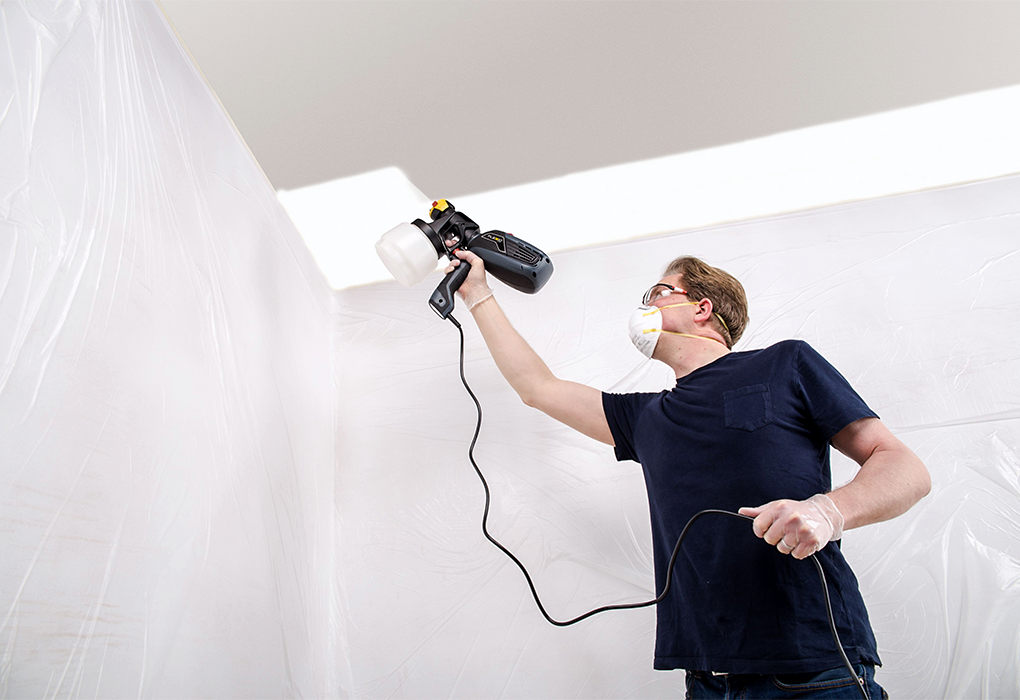


Step 1
When you're ready to paint, move the spray gun parallel to the ceiling and spray whilst moving at an even speed. Keep the nozzle of the sprayer a steady 15 to 20 centimetres (cm) from the surface of the ceiling. Work in vertical lines across the ceiling, making sure that the spray overlaps the previous line by approximately 30% to evenly cover the area.
This motion is repeated, working methodically across the ceiling.
Whether you're painting the ceiling and wall the same colour, or have masked the wall, you can spray right into the corners and edges removing the need for cutting-in with a paint brush.
Step 2
Once you've worked vertically across the ceiling, repeat immediately working horizontally across the area. This is known as 'cross-coating' and helps to give a uniform finish.
Step 3
Leave to dry for the amount of time recommended on the paint can. Apply further coats of paint if needed, repeating steps 1 to 3 until the desired finish is achieved.
Decorating a wall using a paint sprayer uses a very similar technique to painting a ceiling. The only difference is that you'll need to pay extra attention to edges, corners and working around trim and fixtures in the room.


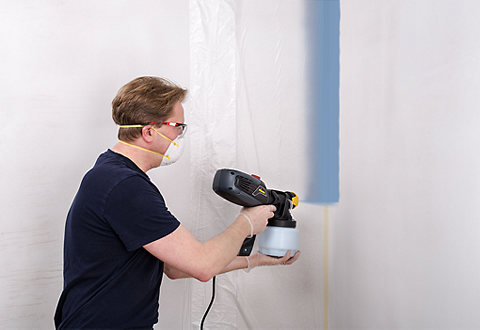
Step 1
When you're ready to start painting, start working nearest the main light source in the room - usually the largest window. This will help you to see how even the paint coverage is.
Move the spray gun up and down the wall at a steady speed, keeping a uniform distance of approximately 15 to 20cm from the wall. Make sure that each spray overlaps the previous spray by about 30% to give the best coverage. Once the wall has been covered working vertically, you can re-coat the wall immediately working horizontally to cross-coat.
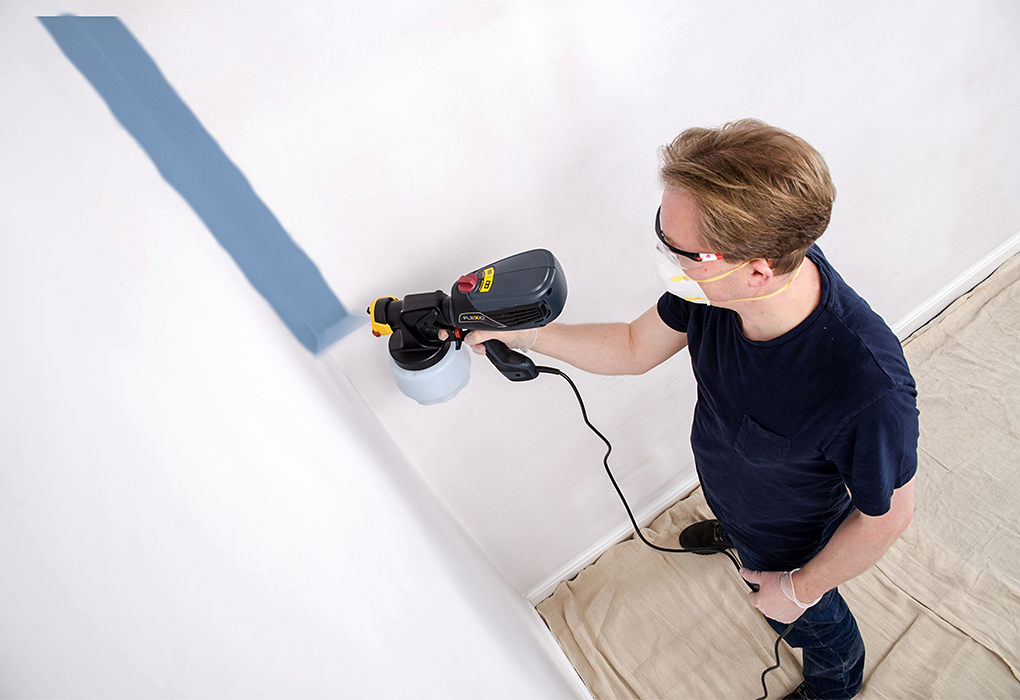
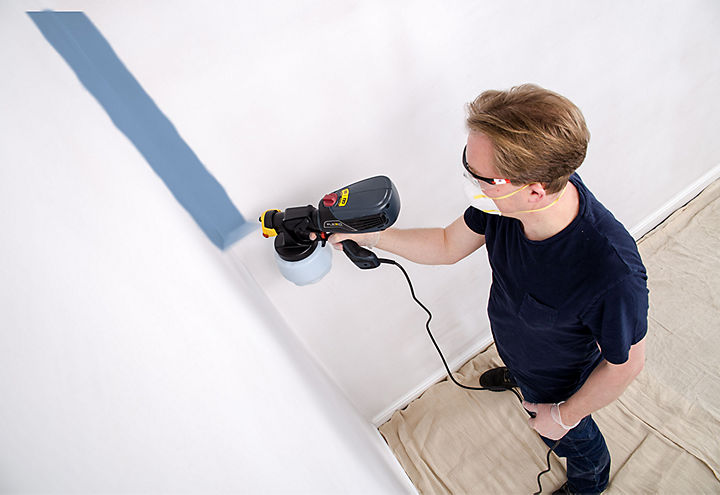
Step 2
Corners and edges can easily be sprayed using the same technique as the flat areas of the wall. As the surfaces which are not being painted have been masked, there's no need to cut in around these before starting spraying.
Step 3
Once the walls are complete, leave to dry following the instructions on the paint can. If additional coats are required, repeat steps 2 and 3 until the desired finish is reached.
Once you've finished spraying, or if you're ready to switch to a new colour of paint, give your paint sprayer a thorough clean. Following some simple steps will help to get it spotless, ready for use next time.
Step 1
Switch off the machine and unplug from the socket. Remove the paint-carrying container from the sprayer and pour any remaining paint back into its original can.
Step 2
Wipe the paint container clean with an old rag or paper towels and then wash thoroughly in soapy water until clean. Allow to dry before reattaching to the sprayer.

Step 3
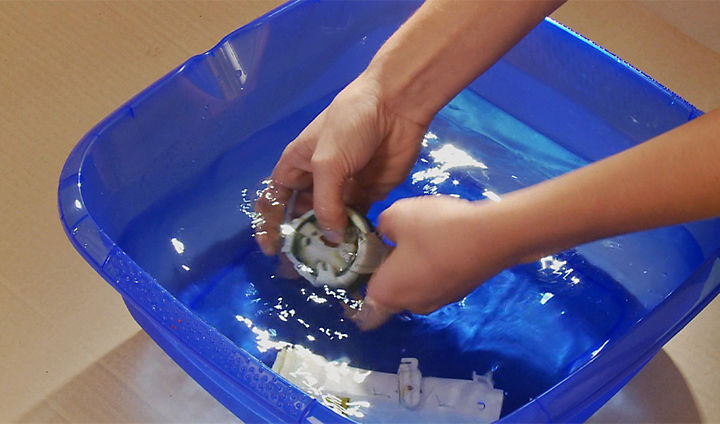
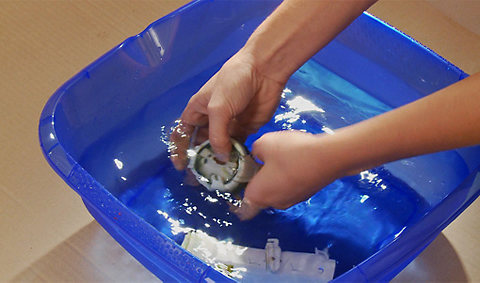
Detach any other removable parts of the machine, such as the nozzle and spray attachment, and thoroughly clean under running water or in a bucket of soapy water. An old rag or toothbrush can be helpful, and a bottle brush may be useful when removing any last spots of paint from the nozzle.


Step 4
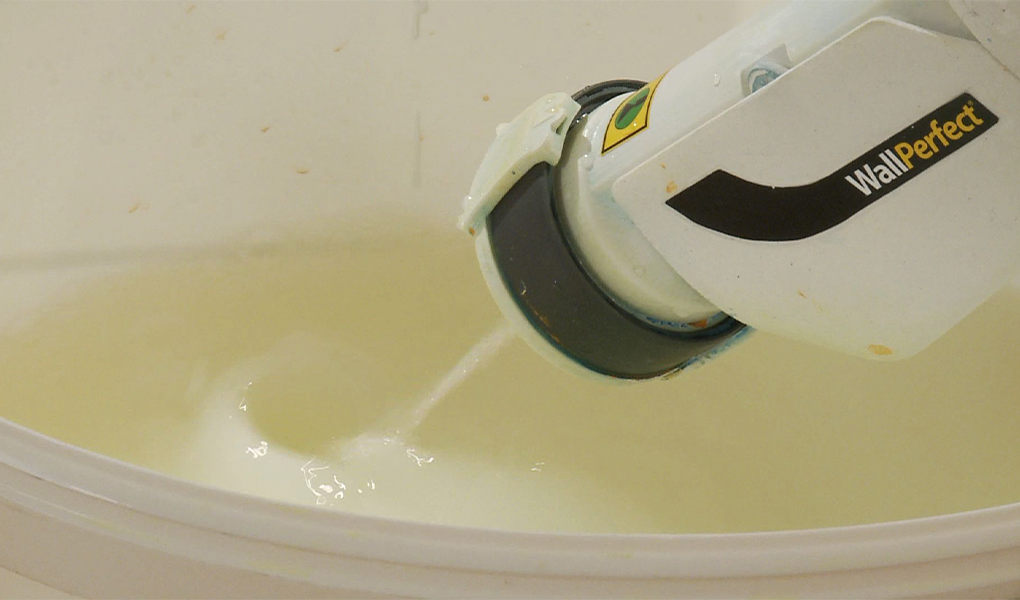
Once clean, refill the paint container with clean water and reattach to the sprayer. Switch the machine back on, and spray into a bucket until the spray is no longer discoloured with paint.