How to create wall panelling up a staircase
By Ellie Reeves | 3rd November 2023 | 7 min read
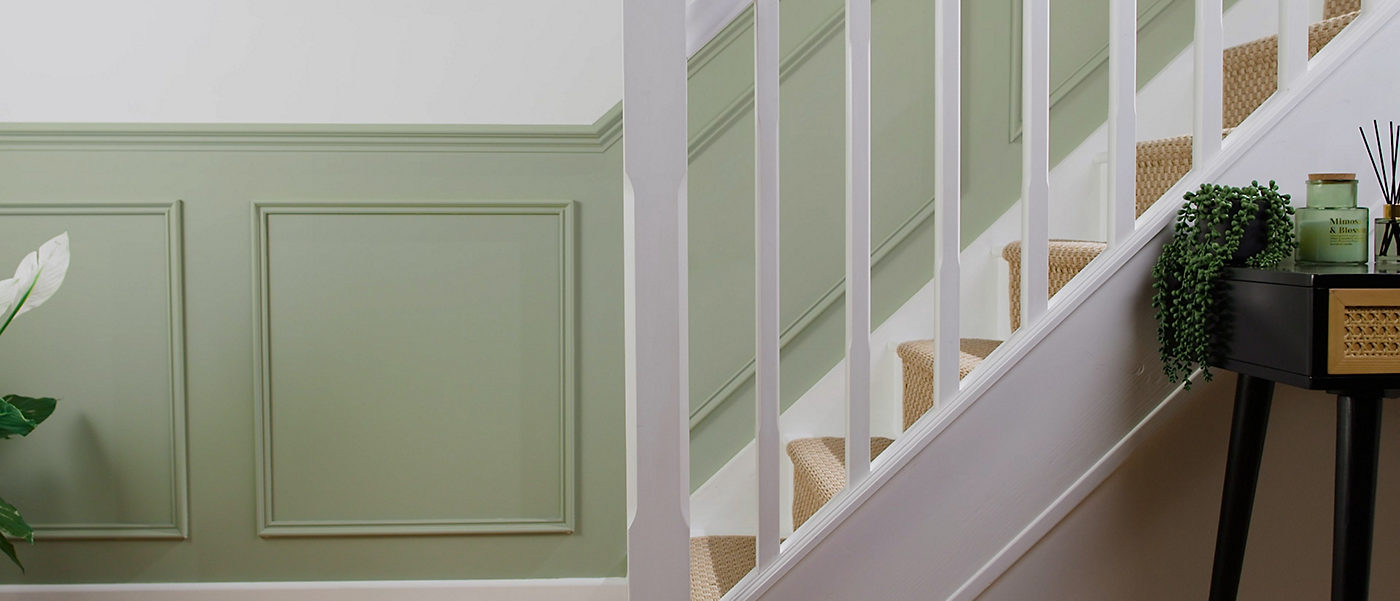
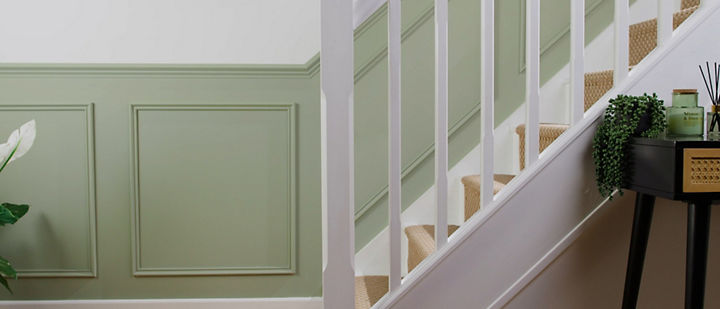
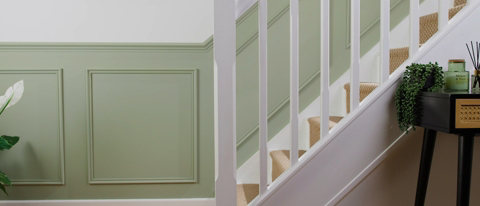
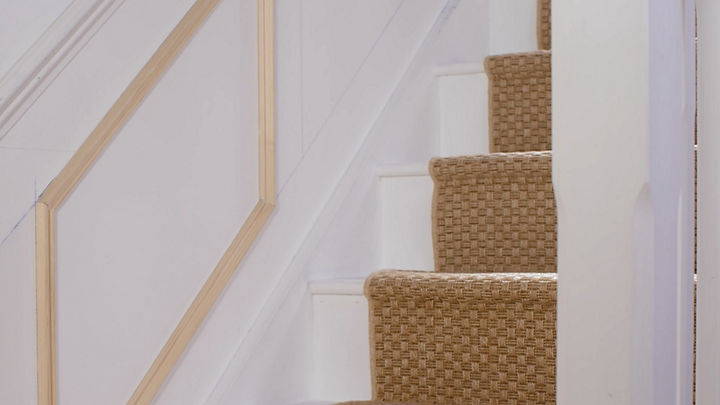
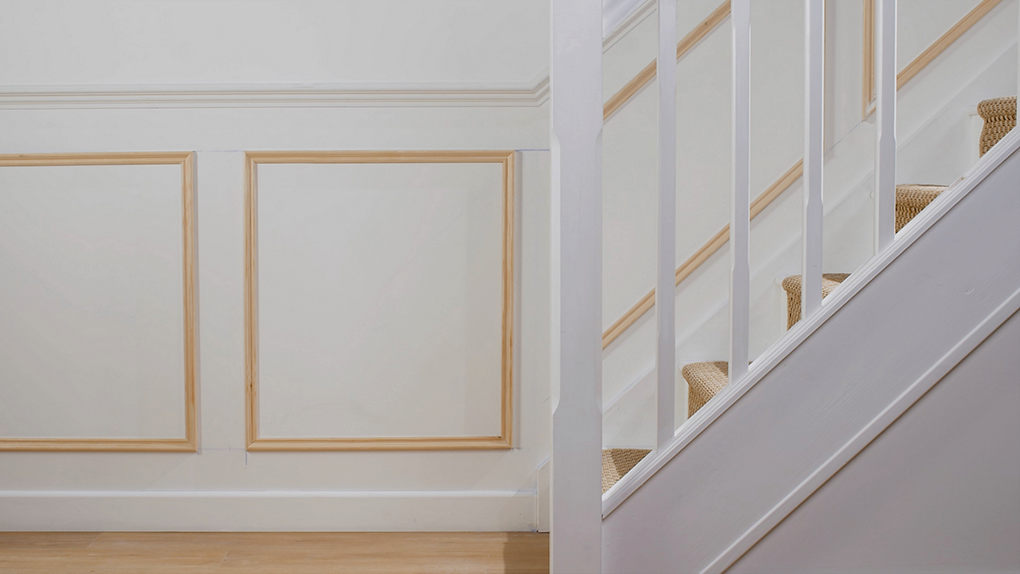
Revamp your hallway with a DIY panelled staircase
Are you looking to add some character to your staircase area? Panelling up your stairs is a fantastic way to transform a boring stairwell into a visually striking feature. In this article, we’ll walk you through the process of planning, measuring, and installing wooden staircase panelling. Whether you have a traditional or modern style, our guide will provide you with all the guidance and inspiration you need to embark on this fun and exciting DIY project.
Ready to get started? Keep on reading for a step-by-step guide on how to install wall panels on your staircase.


Safety first
Before installing wall panels up your stairs, make sure that you have all the necessary safety gear within reach. This includes protective eyewear, gloves, and a dust mask. Take extra caution and care when using power tools. Always read the instructions and familiarise yourself with how they work before use. Keep your work area clean and well-lit to avoid any accidents. If you feel unsure about a particular part of the project, seek assistance from a professional or someone with more experience.
Tools & materials you’ll need:


How to wall panel up your stairs
Watch our video guide:
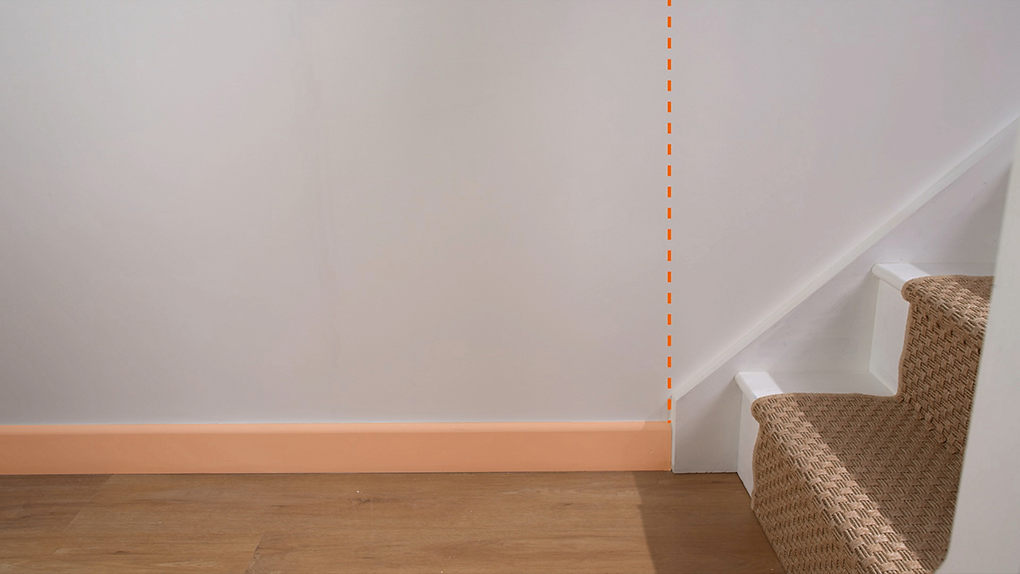

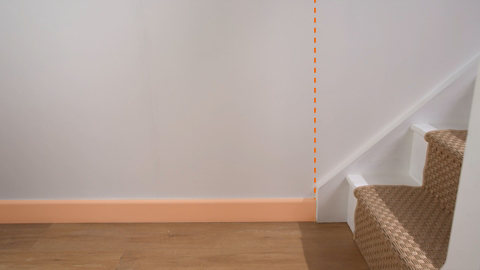
Step 1: First, measure and mark the position for the dado rail. Measure straight up from the ground floor skirting board and mark the height with a pencil (about 1 metre is a good height).
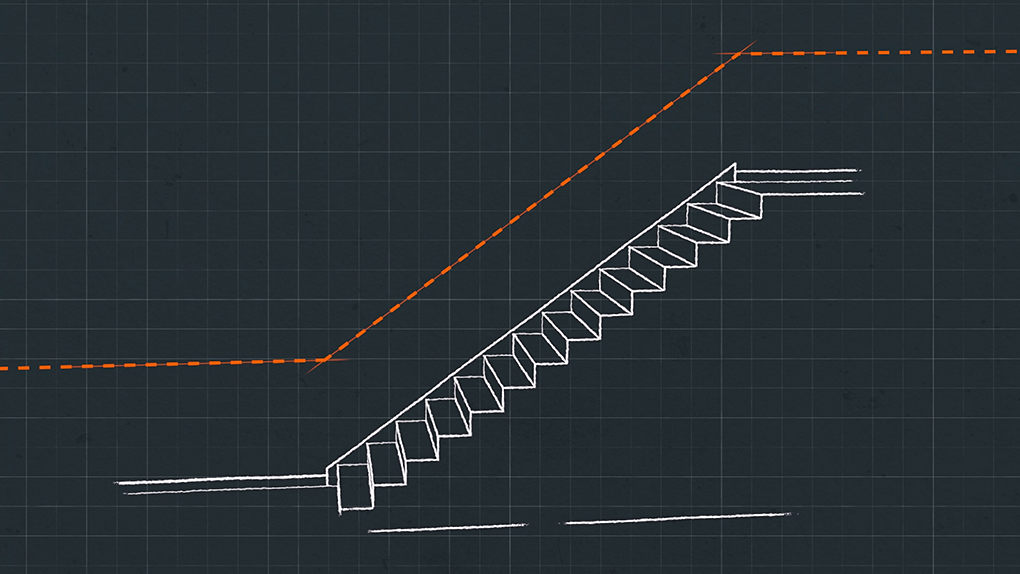
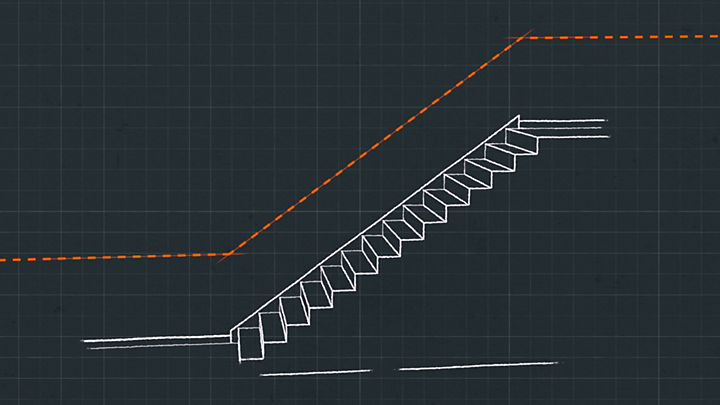
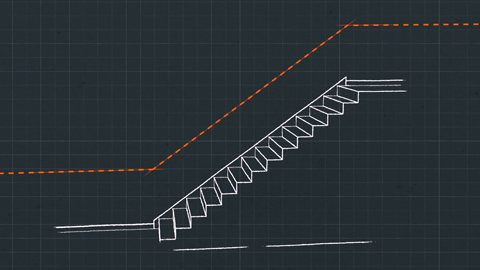
Step 2: Next, measure the same height along the hallway, then go upstairs and measure the same height for the landing. Grab a chalk line and mark the position for your dado rail. Measure each straight line: the hallway, stairs, and landing.


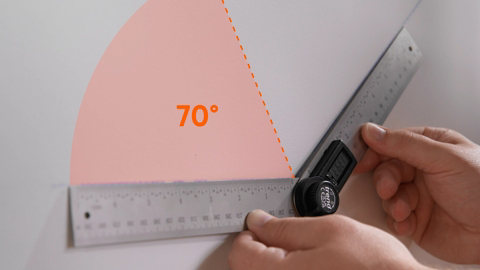
Step 3: Now it’s time to cut your pieces of dado rail. Use a protractor or angle finder to measure your angles. Halve the total to find your cutting angle. Use a mitre saw to cut the angles on each piece of dado rail.
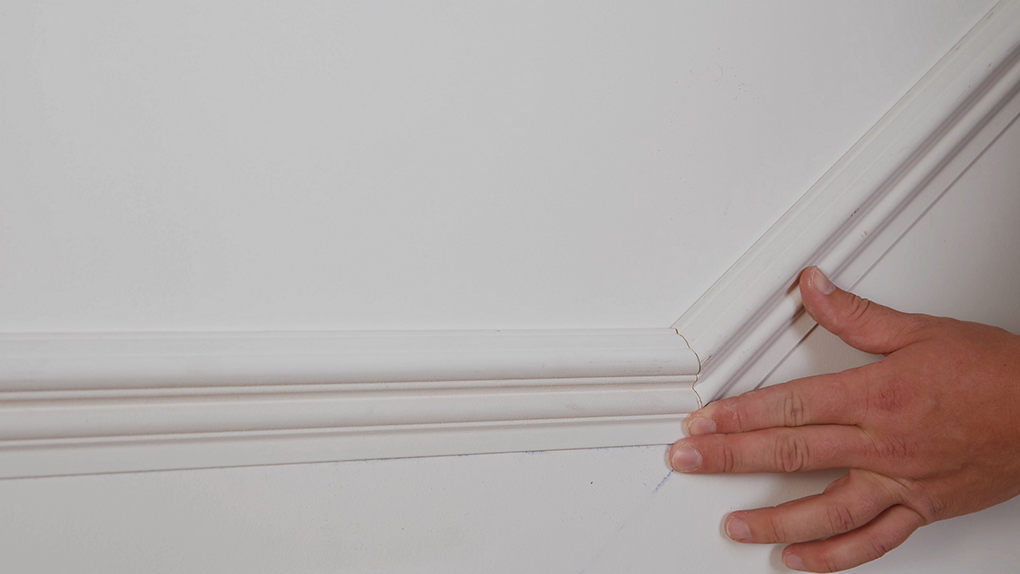


Step 4: Attach the dado rail to the wall using wood glue. Position the dado rail above the chalk line and affix to the wall. If you’ve got uneven walls, secure with nails for added strength. Use a stud finder to check for pipes and cables before using a nail gun. Use ready mixed filler to fill in any small holes for an even finish.


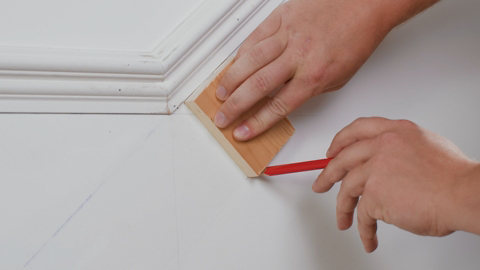
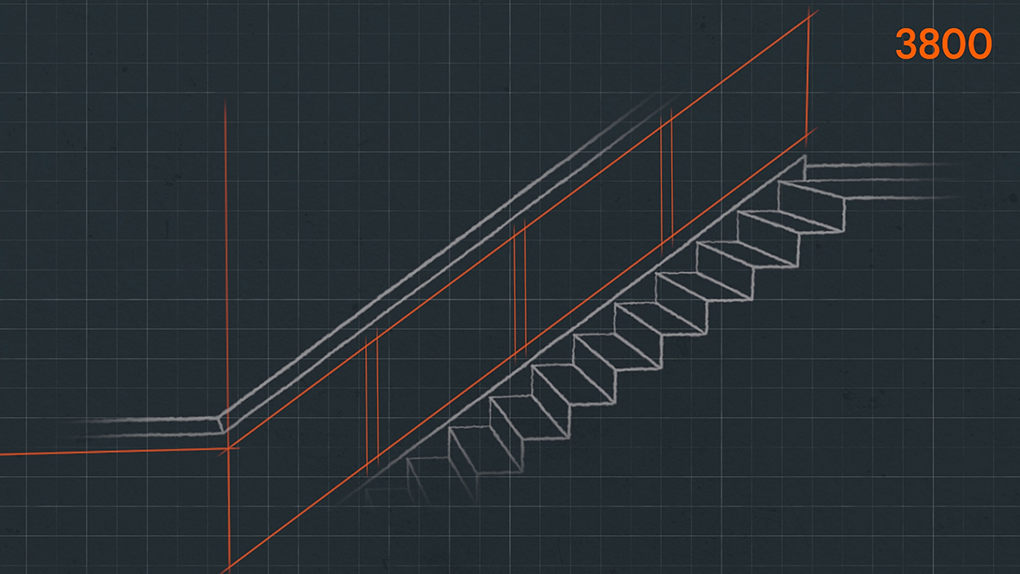
Step 5: Use an offcut to measure even spacing at the top and bottom and then mark these points with your chalk line. Use a spirit level to ensure your vertical markings are accurate.
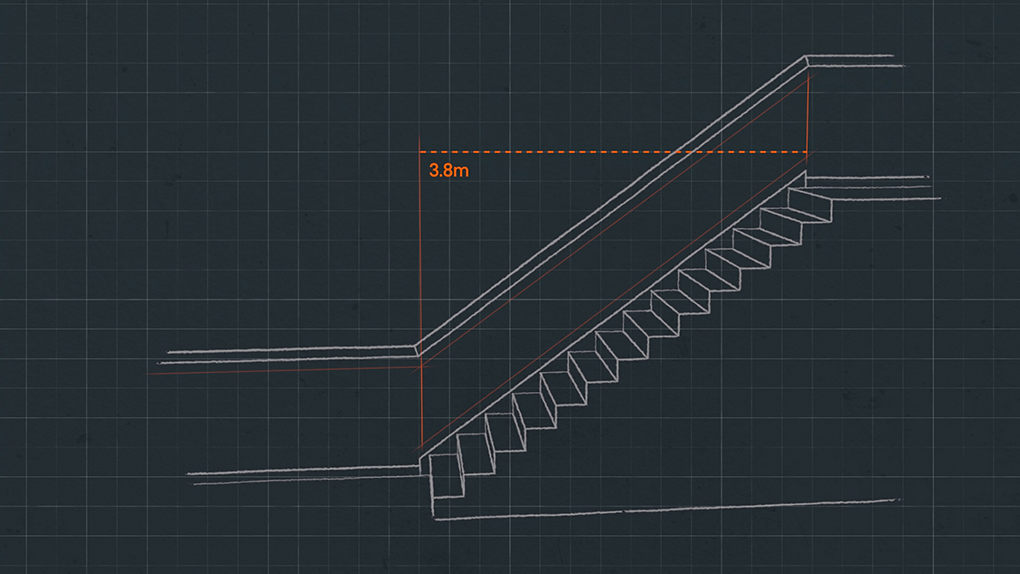
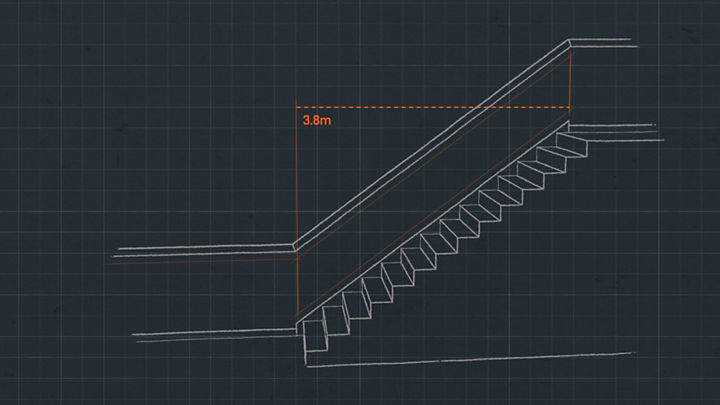
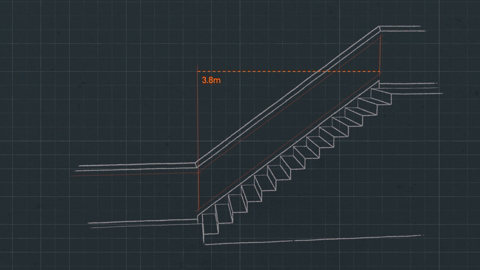
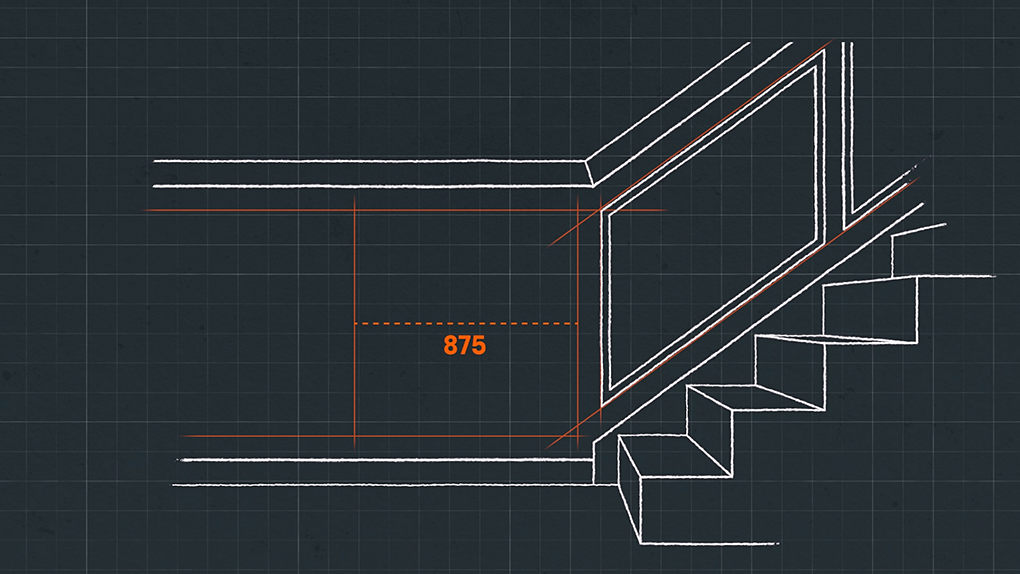
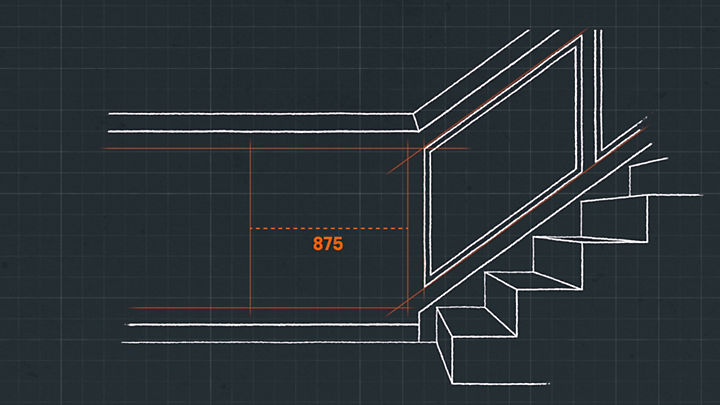
Step 6: Calculate the horizontal distance between the two vertical markers. We’ve chosen four panels using three gaps of 100mm. The total width is 3800mm. Minus 3800mm by 300mm (3x100mm gaps) = 3500mm. Divide 3500mm by the number of panels (4) to work out what the width of your panels will be. In this case, the panel widths will be 875mm.


Step 7: Measure and mark up your wall and check over your design.


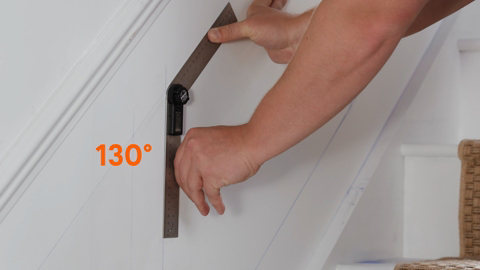
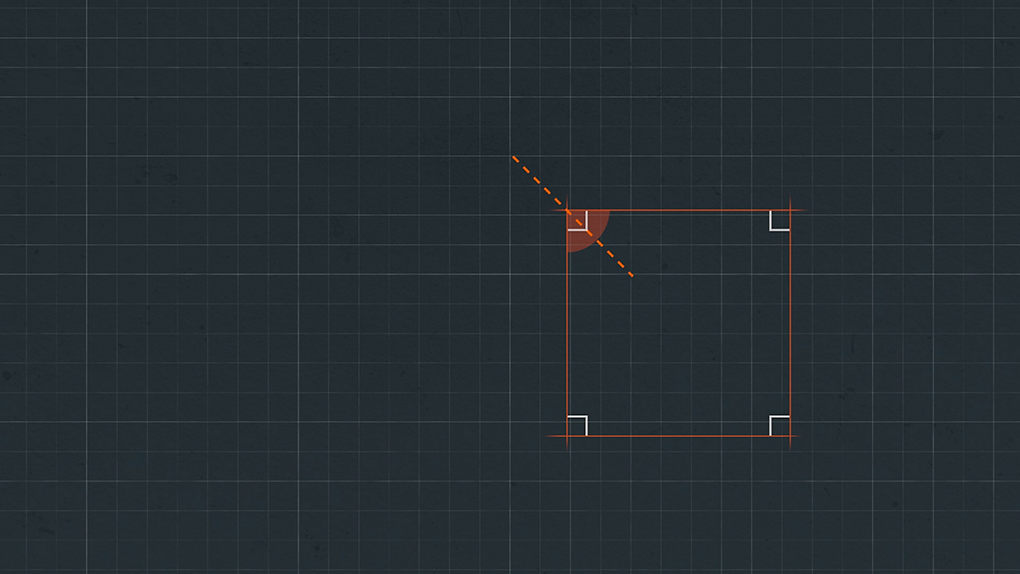
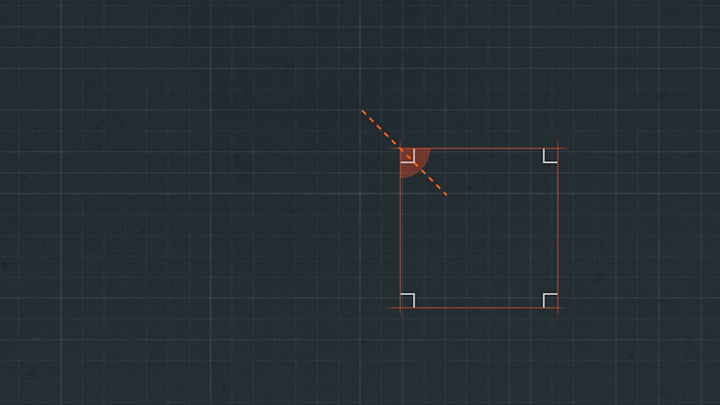
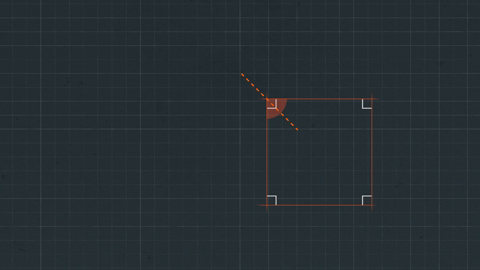
Step 8: Then measure the length for the vertical pieces and check the obtuse angle.
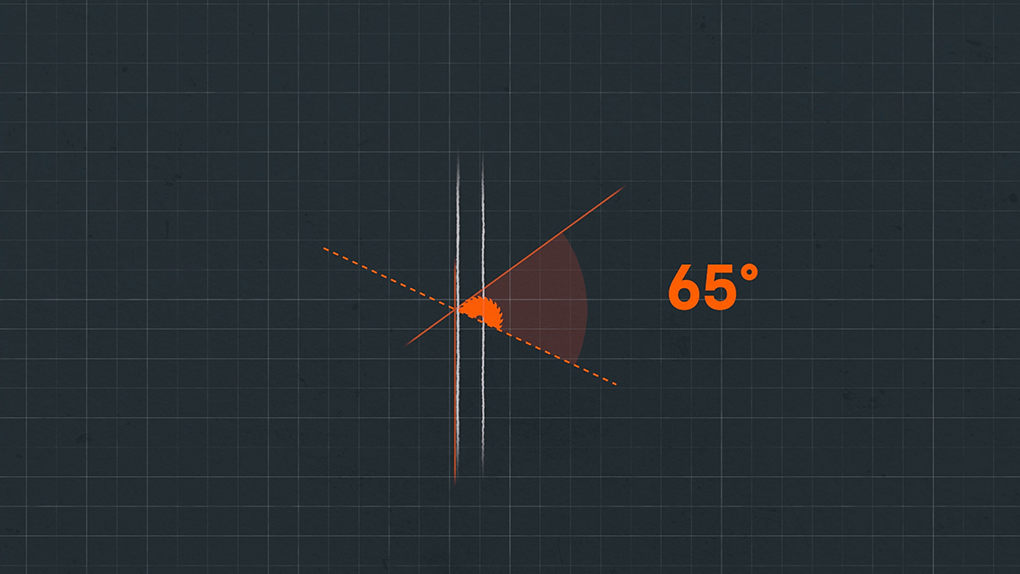
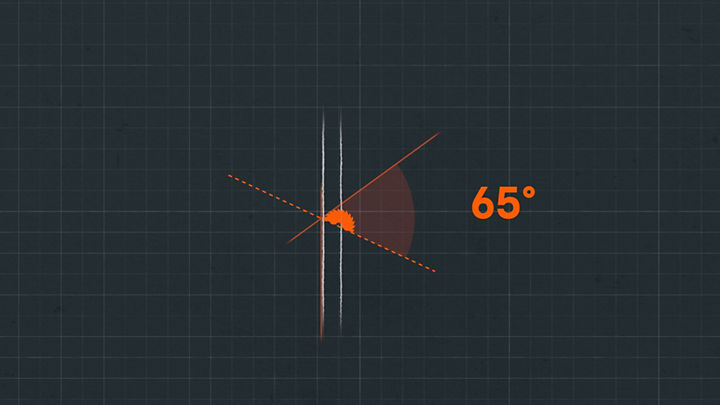
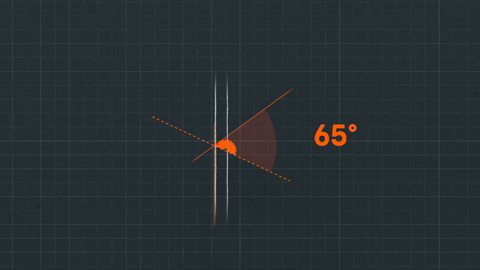
Step 9: Divide the obtuse angle by two to get your cutting angle.
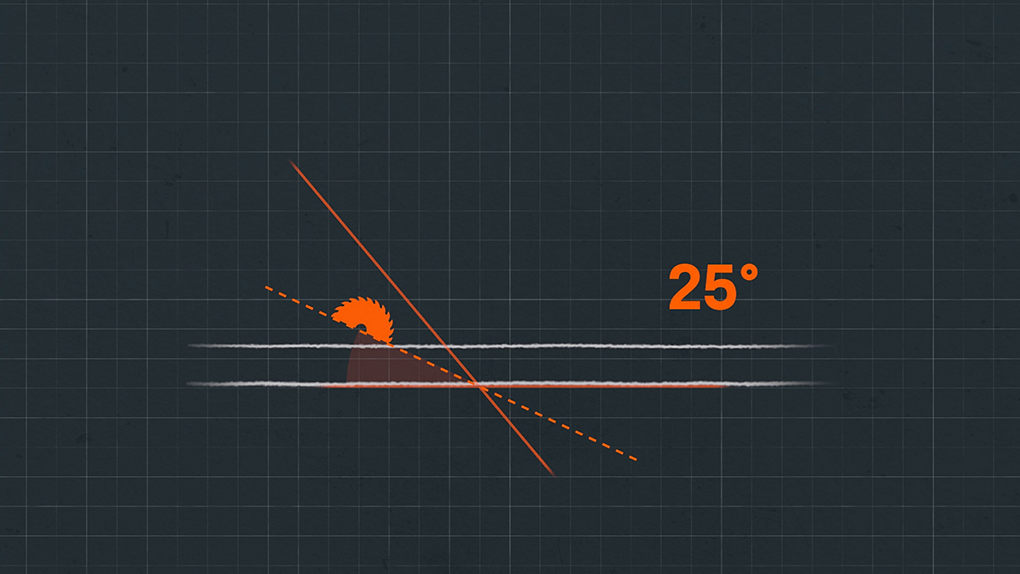
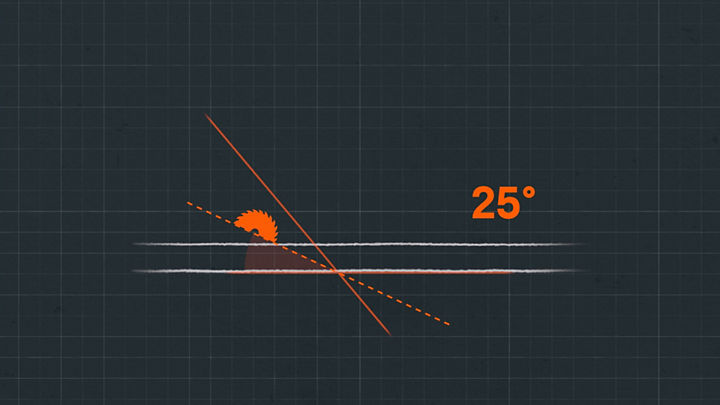

Step 10: Minus the obtuse measurement from 180 degrees to get the opposite acute angle. In this case the opposite acute angle is 50 degrees. Divide this number by two to find out your horizontal cutting angle.
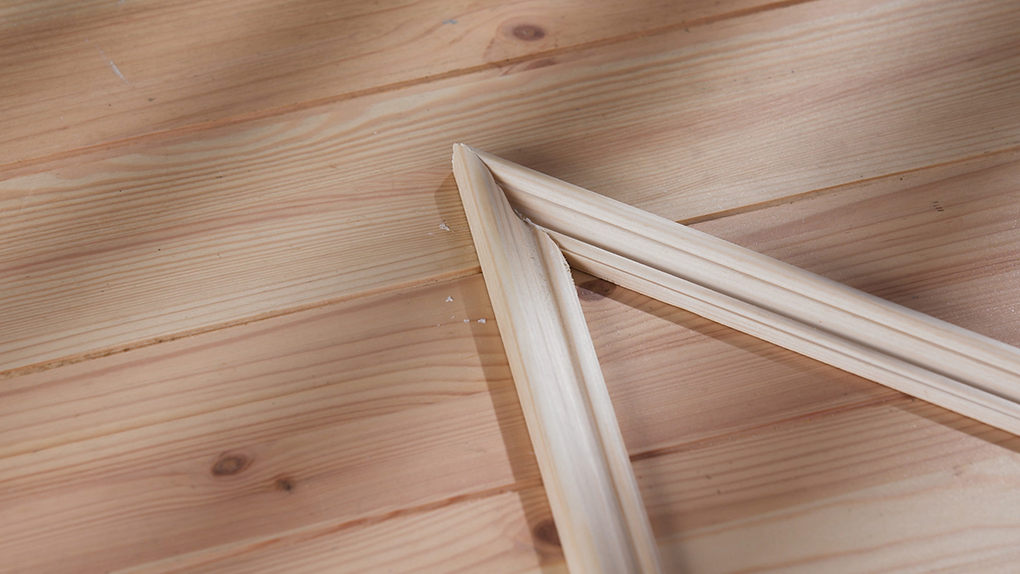
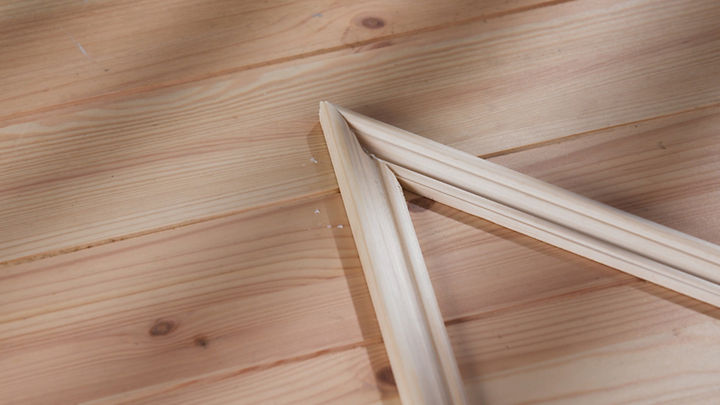
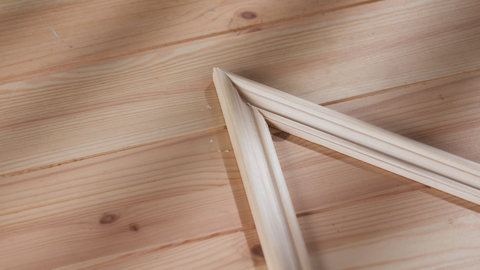
Step 11: Make the cuts on your moulding, we’re using pine moulding for the inner panels. Check that your joins fit together properly.


Step 12: Fix them in place using wood glue. Secure with nails for added strength and smooth out any joins with wood filler.

Step 13: Now it’s time to measure and mark the horizontal panels for the hallway and landing. Measure and mark equal spacing along the hallway and landing.
Step 14: Cut the moulding to the correct length and angle needed. Right angles should be cut at 45 degrees. This can be done using a simple mitre box.


Step 15: Fix them in place using wood glue and repeat.

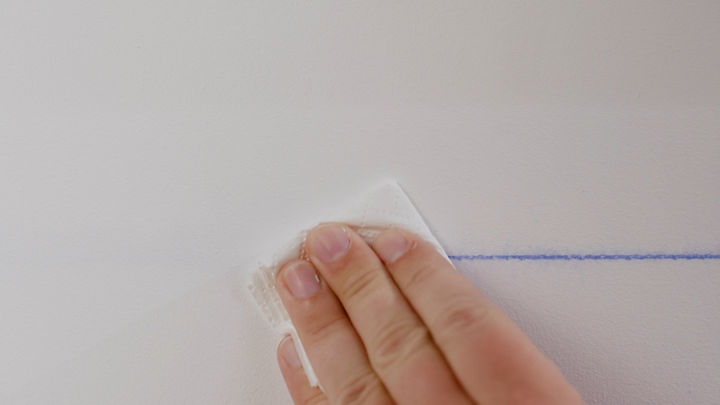

Step 16: Use a damp cloth to wipe away any chalk dust before painting.

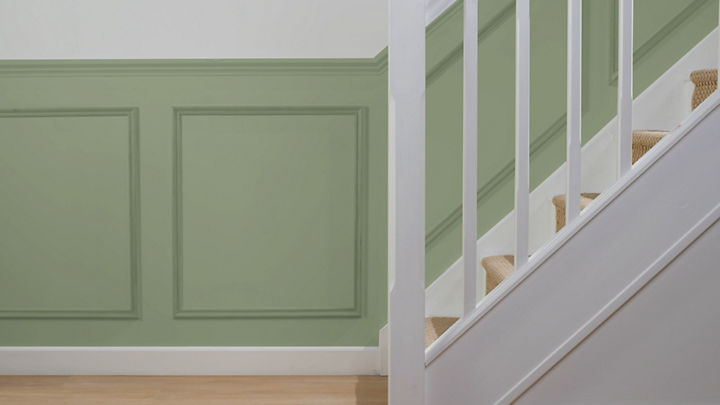

Step 17: Paint your new staircase panelling in a colour of your choice. We’ve chosen GoodHome Durable paint (suitable for walls, wood, and metal) in shade Limerick.
There you have it, your very own panelled staircase! Looking for more wall panelling ideas and inspiration? Check out our guide to find out everything you need to know about DIY panelling in your home.