How to create a pond
Water has been used in landscape gardening for centuries and a pond will add a soothing extra dimension to your garden while creating a habitat in which fish, frogs, newts and all sorts of other wildlife can thrive. Ponds and water features can range in size from small lakes to tiny self-contained pebble water fountains.
You can buy rigid, pre-formed plastic ponds that come with a built-in planting shelf in a wide choice of shapes and sizes. They're not too difficult to install either, you just need to dig a hole that's large enough to accommodate the mould, make sure the pond is perfectly level and back-fill around it. Flexible plastic liners, on the other hand, enable you to create exactly the shape and size you want.


Safety first
Never forget that small children can drown in a few inches of water. So don't leave them unsupervised for a moment when they're near the pond. For peace of mind, install a secure fence and gate around it until they're older.
How deep should your pond be?
Fish will survive happily in as little as 400mm-600mm of water, but the heat and light from the sun will penetrate a shallow pond more easily and produce more algae growth. However, there's no need for your pond to be deeper than one metre.
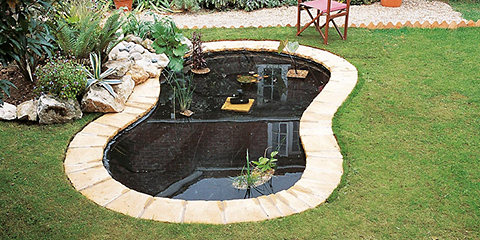
Edgings
Your pond will also need an edging, but try not to use small pieces of stone right on the edge, as they might slip in. Paving slabs make one of the simplest and most effective edgings, or you can use large rounded pebbles. Alternatively, you could turf right up to the pond edge - and if you do this, a narrow band of waterside grasses will create a more natural effect.
If your pond is going to thrive over the years, you'll need to think carefully about where to put it in your garden. A number of factors can affect its health and sustainability.
Sun and wind
As most pond plants need sun when they're growing it's a good idea to put your pond in a spot where it'll get plenty of sunshine in summer. Also, try to avoid windswept places as pond plants can get dislodged in gales and there will be increased evaporation from the surface.
Ground conditions
Don't site your pond on boggy or waterlogged ground unless you're prepared to install a drainage system. Any water that builds up beneath a flexible liner can cause it to billow and come to the surface. It can also dislodge a pre-formed liner.
Trees
Your pond should be at least 5m-6m from a tree. This will stop it from being cast in the shade and the liner being damaged by roots, as well as the water being clogged with autumn leaves.
It's worth bearing in mind that some species of tree can harm ponds and pond life. Willows, horse chestnuts, poplars and yews have vigorous, thirsty root systems and willows’ decaying leaves produce chemicals harmful to fish. Laburnums, yews and rhododendrons are all poisonous and water lily aphids can congregate in plum and cherry trees.
Utilities
You'll need to top up your pond from time to time, so a nearby water supply would be handy. Pumps and fountains will need a power supply so easy access to this is also important.
Pumps and filters have an important part to play in keeping your pond clean and healthy.
Pumps
Domestic pond pumps can power waterfalls and fountains, as well as running filters. To work out the flow rate you need, you need to work out the pond's volume by multiplying average length (m) x average depth (m) x average width (m). This will give you the volume in cubic metres. To convert that to litres, just multiply the figure by 1000. As well as the capacity of your pond, you'll need to know what filters you'll be using, the size of any waterfall you want to attach and the height the water will need to be pumped to reach it. As a rule of thumb, you'd need a pump with a capacity of 2750 litres per hour to run a waterfall that's 150mm wide.
Filters
It's possible to keep your pond clear and healthy without filters by correct planting, keeping fish to a minimum and encouraging beneficial wildlife. But this is quite difficult and can take time. Filtration combined with planting is a simpler solution and there are various filters you can choose from.
In-pond filters consist of a plastic sponge that connects directly to the pump via a pipe. They are only suitable for small ponds up to 900 litres.
Tank filters provide mechanical and biological filtration, using bacteria to remove pollutants. They come in various sizes and you install them outside the pond - either in a hole in the ground or hidden behind rocks or plants. These can now be bought with integral ultraviolet clarifiers.
Ultraviolet clarifiers (UVCs) bombard free-floating algae with ultraviolet light, killing it and making it clump together so a tank filter can remove it.
Bioforce/Ecoforce pressurised filters provide mechanical and biological filtration when you combine them with an ultraviolet clarifier (UVC). You can also bury these in the ground.
Make a rough sketch of your garden and draw in the outline of your new pond and its surroundings, including any plants. Go for a symmetrical shape if you want a more formal effect. Or you could create an irregular, informal pond that looks natural and fits in with the landscape.
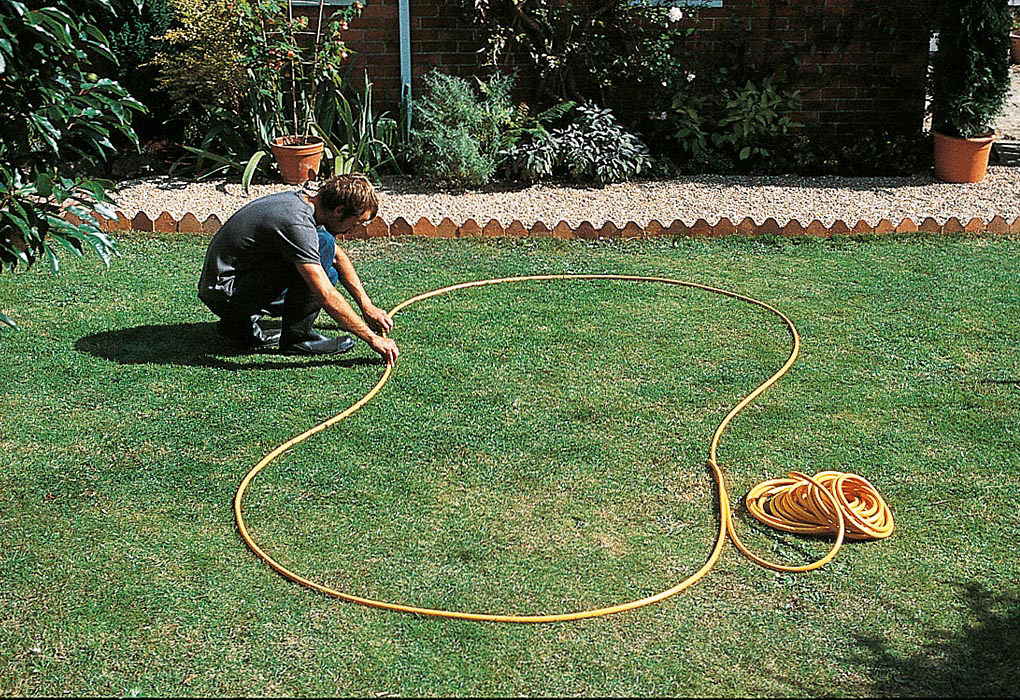
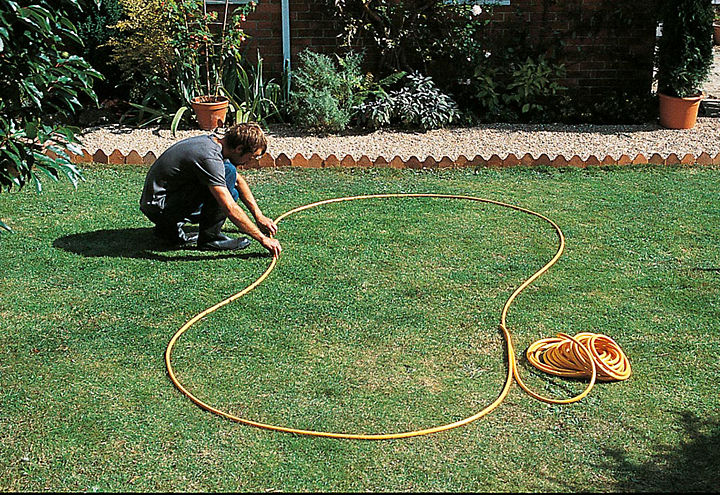

Step 1
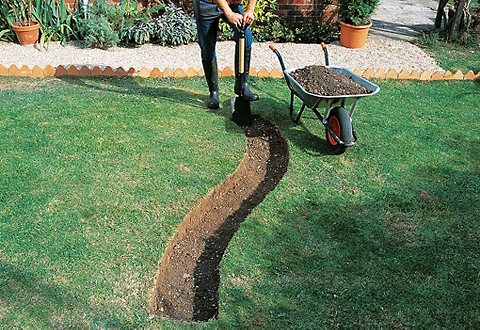
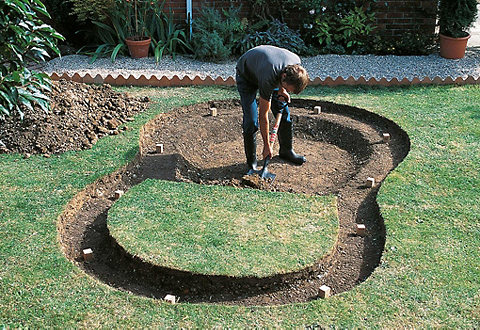
Mark out your pond area with a hosepipe or length of rope, trying different shapes and sizes until you come up with something you like.
Step 2
Use a spade to mark the edge of your pond clearly. Then remove the hosepipe and cut a second line beyond the pond's outline to mark the outer rim of the edging. The distance from your original line should be the width of a slab less 50mm, so the slabs overlap the pond edge by 50mm. This not only hides the liner, but also protects it from direct sunlight.
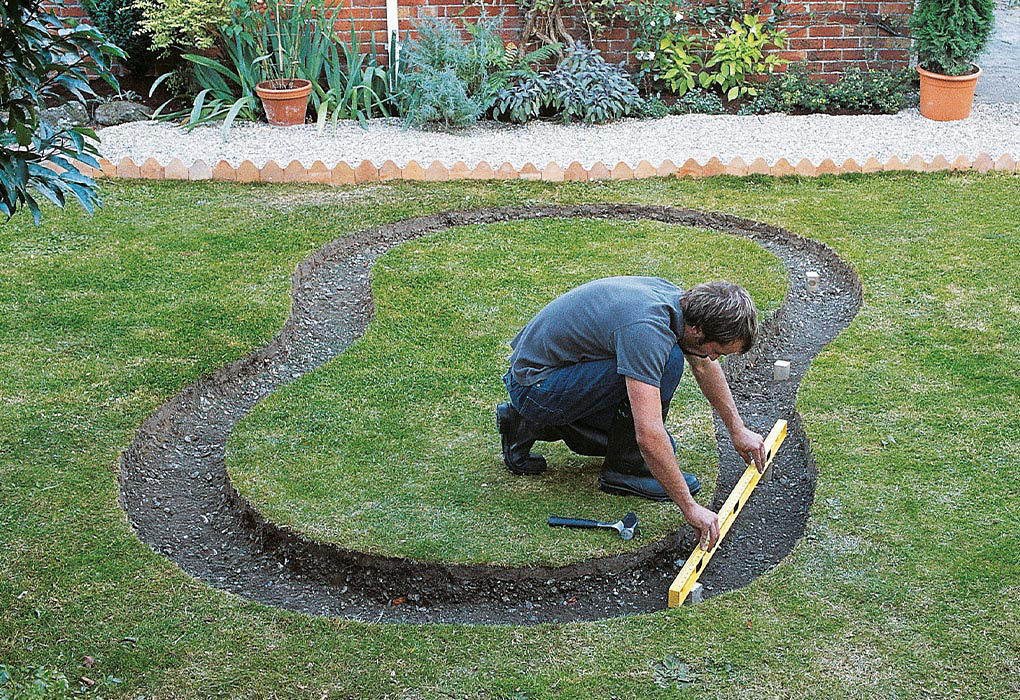
The best way to make sure your paved edging is stable is to dig a trench around your pond before you excavate it. You can then lay a concrete pad in the trench when you've put the liner in place. This secures the liner and gives you a base on which you can rest the paving slabs.
It's really important that the concrete pad and edging slabs are level, even if the ground surface isn't. To make certain this is the case, you'll need to cut 50mm x 50mm levelling pegs about 300mm long, sharpened to a point at one end. Hammer these into the trench no more than a metre apart, all around the edge of your pond.
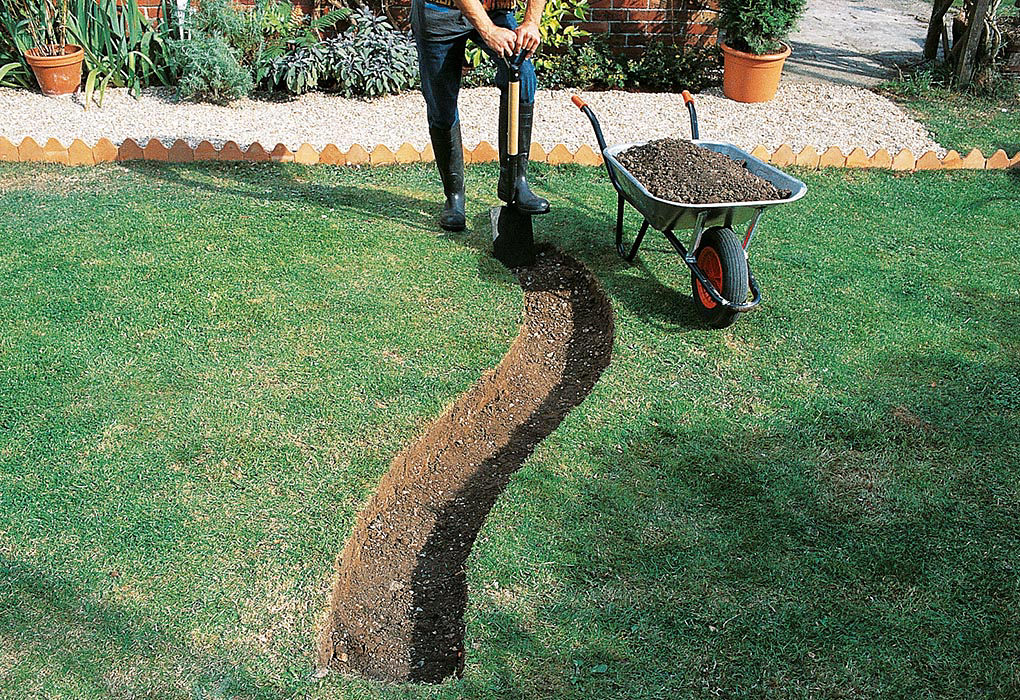

Step 1
Dig a trench between the two guidelines, using a spade and a pickaxe if need be. The depth should be 75mm for the concrete pad, plus the thickness of the edging slabs and a mortar joint of 15mm. Level the trench roughly as you go.
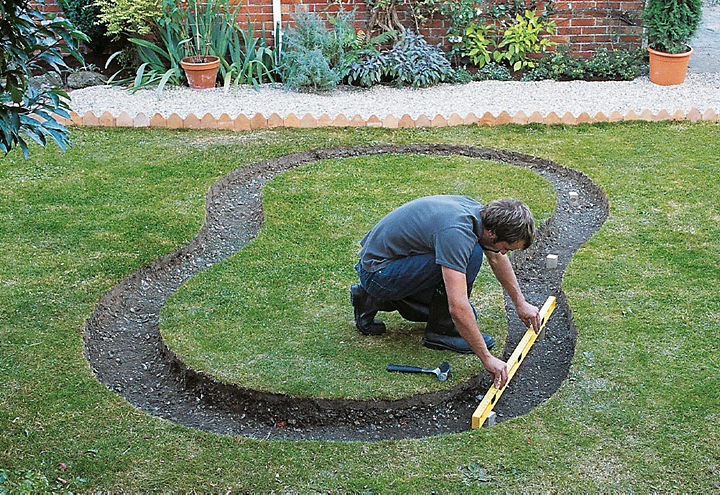

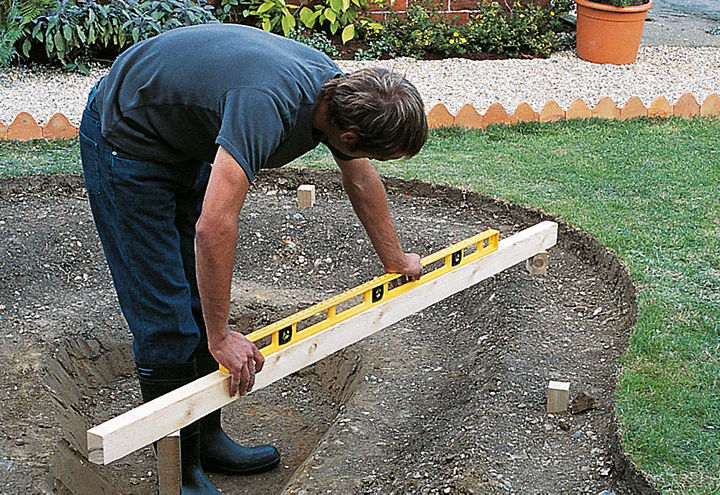
Step 2
Drive a levelling peg into the centre of the trench to the finished water level. This will be lower than ground level by the depth of the edging (with a 25mm-thick slab and 15mm mortar joint, the tops of the pegs should be 40mm below ground level). Mark the first peg so you can use it as a guide from which you can level all the others. Then drive in pegs no more than a metre apart around the trench, and level them with a long spirit level or laser level.

Step 3
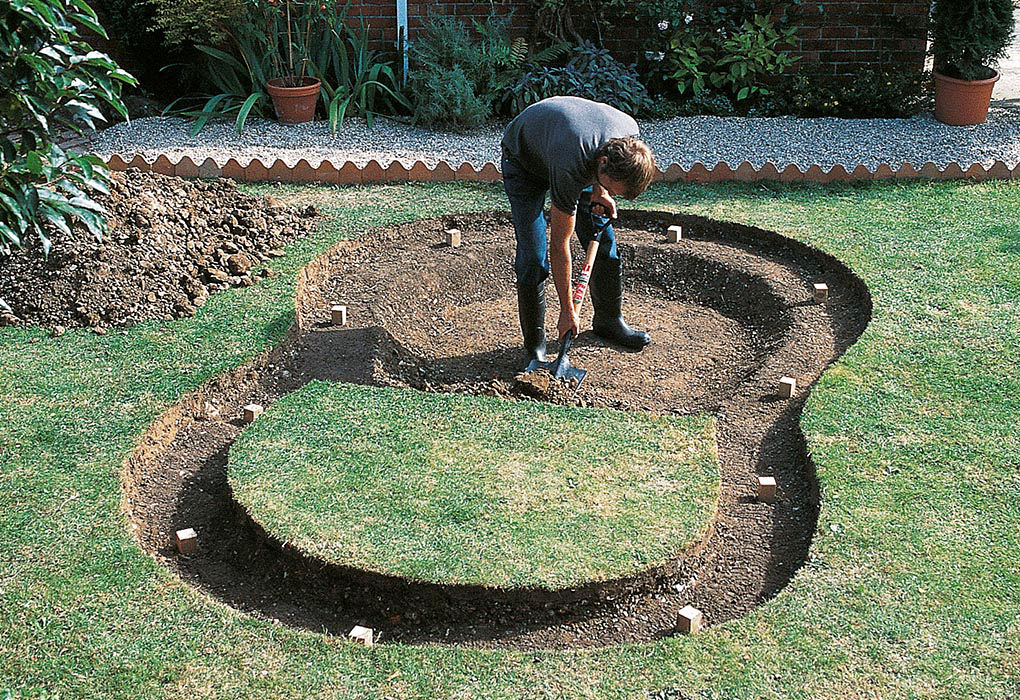
Start digging out the pond to the level of the marginal planting shelf, using the inside line as your guide. The shelf should be about 230mm below water level and250mm wide. For stability, the sides of your pond shouldn't be vertical but should slope slightly inwards at an angle of 20 degrees (or more in soft, crumbly ground).

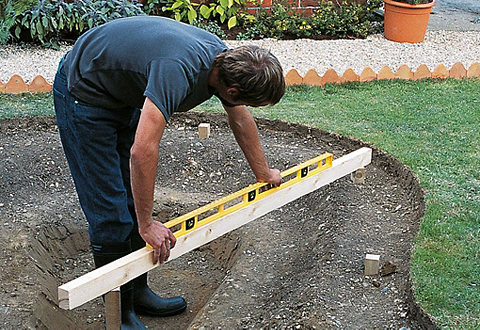
Step 4
Dig out the central part of the pond to the depth you need, sloping the pond sides between the marginal shelf and the pond bottom at 20 degrees. Make sure there are no stones sticking out of the ground. Hammer a stake into the centre of your pond, and use a spirit level and straightedge (or a laser level) to line everything up with your first peg. Use the stake to double-check that all the other pegs are level, and make slight alterations if you need to.


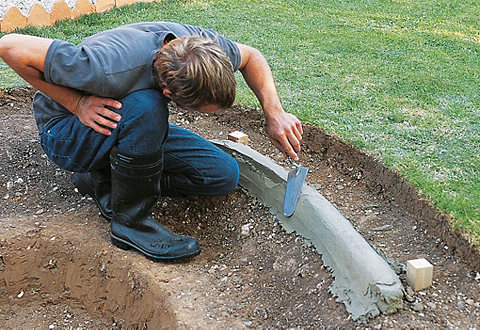
Step 5
When all the pegs are at the right level, mix a fairly stiff mortar using three parts sand to one part cement, and lay a line of it around the rim of the pond. Make sure the top of the mortar line is level with the pegs, and that its edges are rounded off and the surface is smooth. Next, use the central stake to check the level again all the way around the rim of the pond. Then leave the mortar to dry for 24 hours.
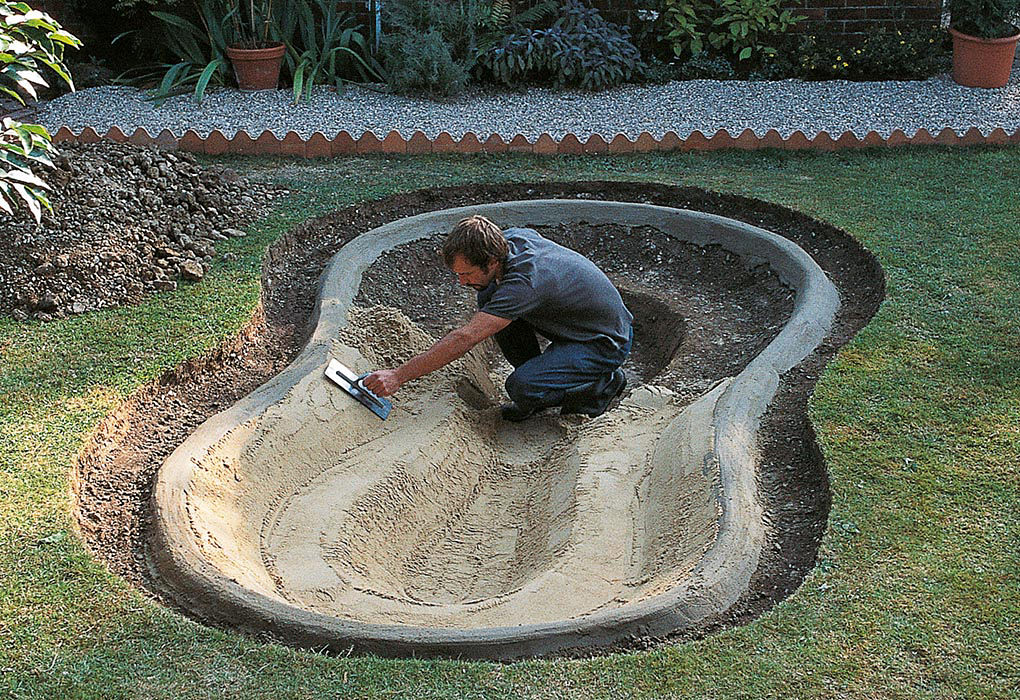
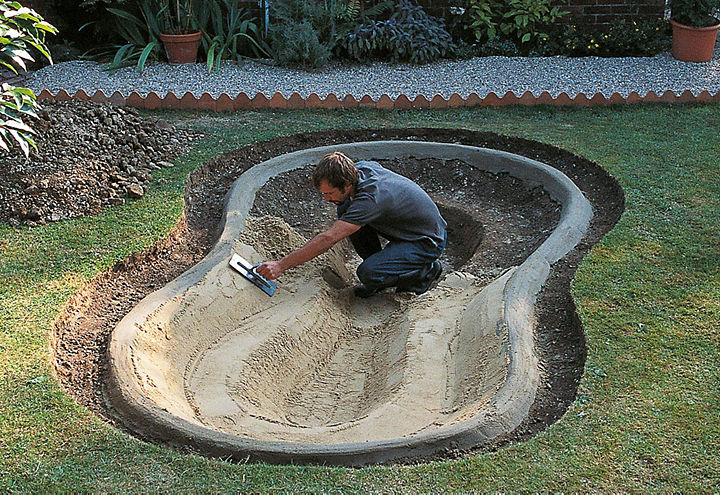
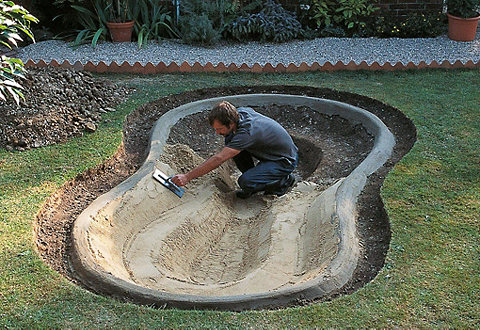
Step 6
Using a plastering trowel, cover your excavated pond with a 25mm layer of damp sand. If the ground is particularly stony or there are sharp corners, it's a good idea to use pond underlay or lengths of old carpet on top of the sand to protect the liner.
To work out how much liner you need, allow for an overlap of at least 150mm around the edge of your pond so you can secure it beneath the edging. You'll need a bigger overlap if you plan to bury it and turf right up to the pond edge.
To work out the length of the liner, measure the maximum length (including overlaps) and add twice the maximum depth. To calculate the width, measure the maximum width (including overlaps) and add twice the maximum depth.
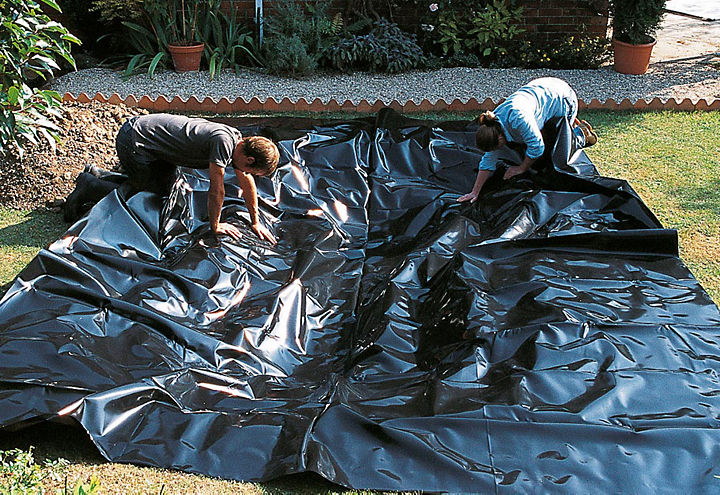
Gently stretch, smooth and fold it into position over the excavated area, leaving plenty of spare on all sides. But be really careful not to puncture it on sharp stones. If you do, patch the hole on both sides with off-cuts of liner and an adhesive that's recommended by the manufacturer.
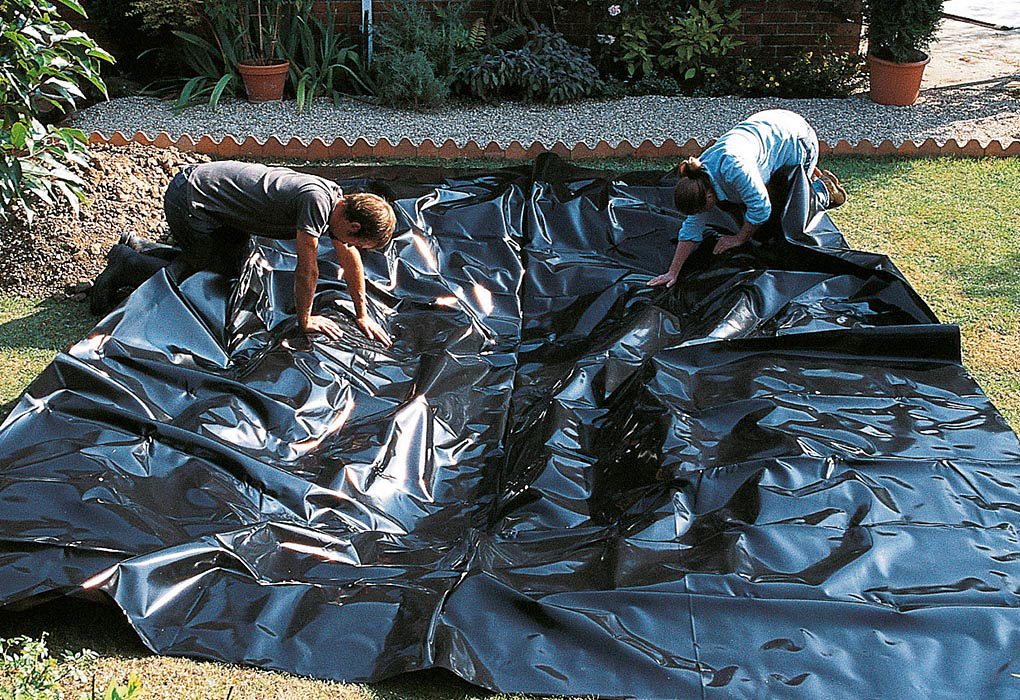

Step 1
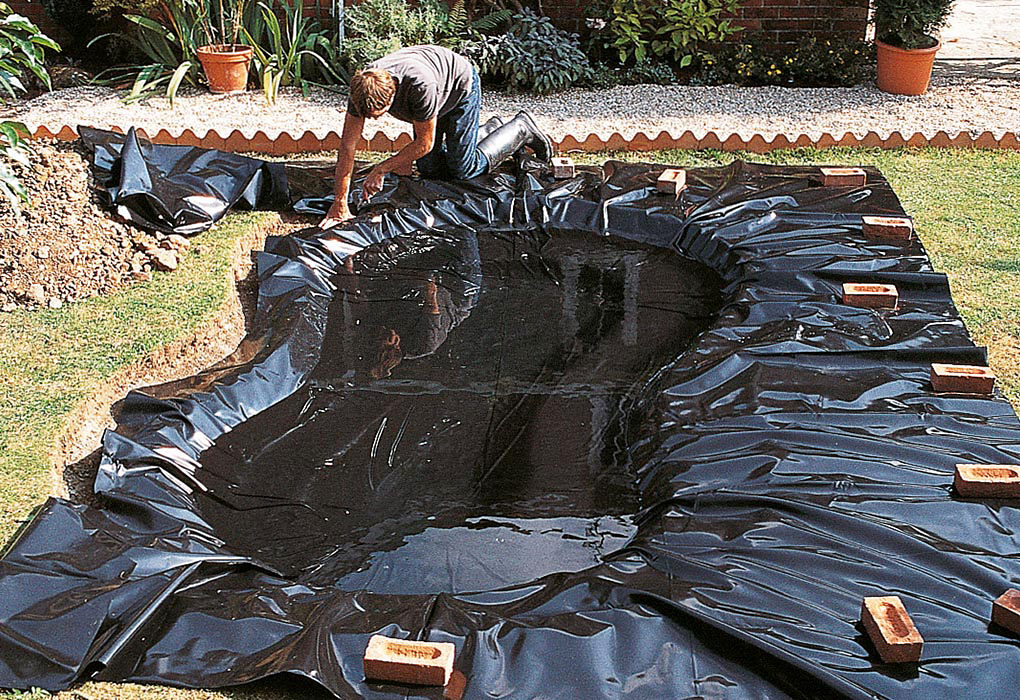
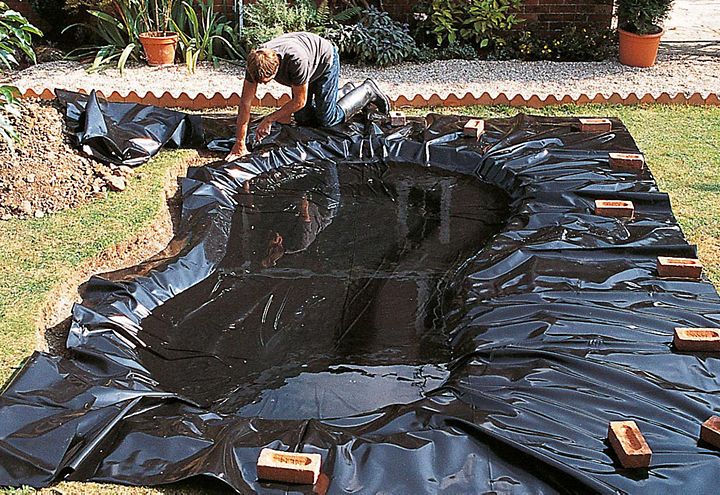
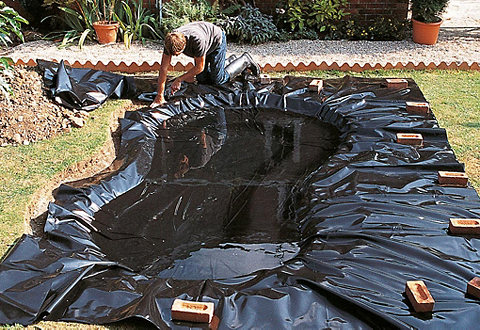
Lay your liner in the hole, putting stones or bricks around the edges to stop it slipping down. Place the end of the hose in the bottom of the pond and anchor it with something heavy (but not sharp). Then fill the pond with water, taking care to move the stones or bricks as it fills to release the liner and allow it to fit the hole.
Step 2
Smooth the liner over the mortar edge into the trench - it should cover almost half of it. Then trim off the excess with a pair of scissors or a sharp knife.
Fill the trench around the edge of the pond with concrete, bringing it level with the top of the mortar rim. This anchors the liner in place and gives you a firm base on which you can place the edging slabs. Leave the concrete to dry for about 24 hours.


Step 1
Lay the slabs on a continuous bed of mortar on the concrete, overlapping the liner by 50mm. Then mix the mortar, using four parts sharp sand to one part cement. Allow a 10mm mortar joint between the slabs. For a curved pond, you'll need to cut each slab to fit using a club hammer and bolster chisel, or an angle grinder. Be sure to wear heavy-duty gloves, safety goggles and a dust mask while you cut your slabs.
Step 2
Before finishing the edging, you'll need to drain the pond. Either siphon out the water with a length of hosepipe, or use the pump - just fit a hosepipe to its outlet. As you'll need to make certain the pump is covered with water at all times when it's operating, you'll need to scoop out the last of the water.
Step 3
After you've drained your pond, point the joint between the slabs and liner. Make sure you clean the liner thoroughly afterwards, as mortar is poisonous to plants and fish.
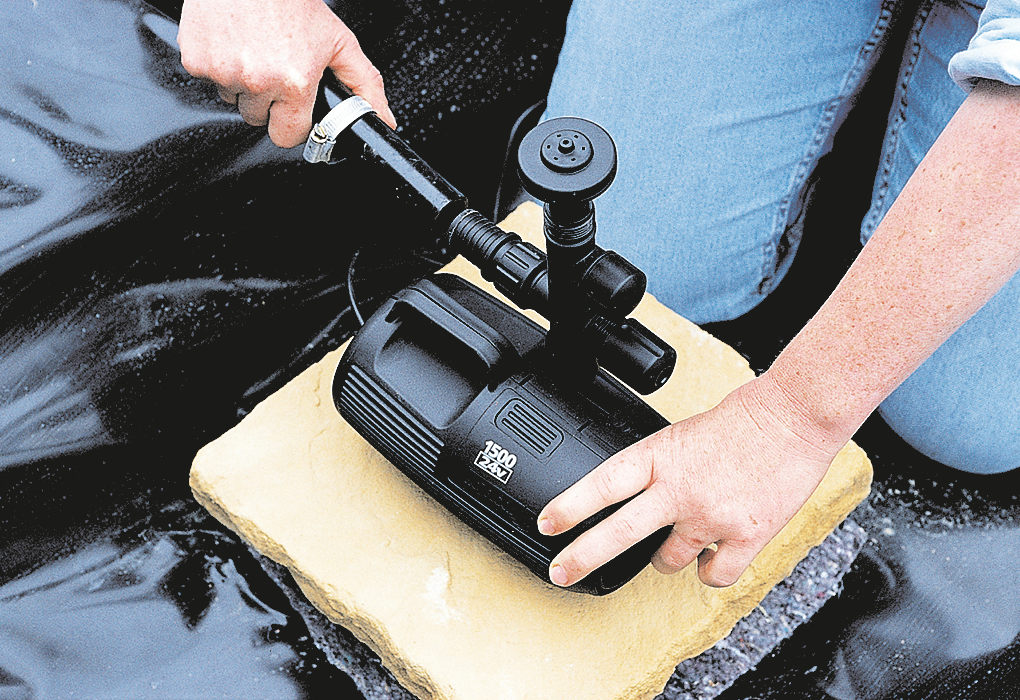
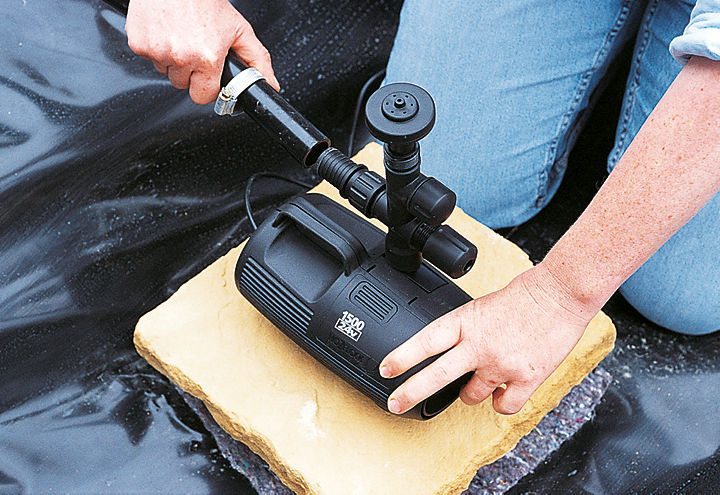
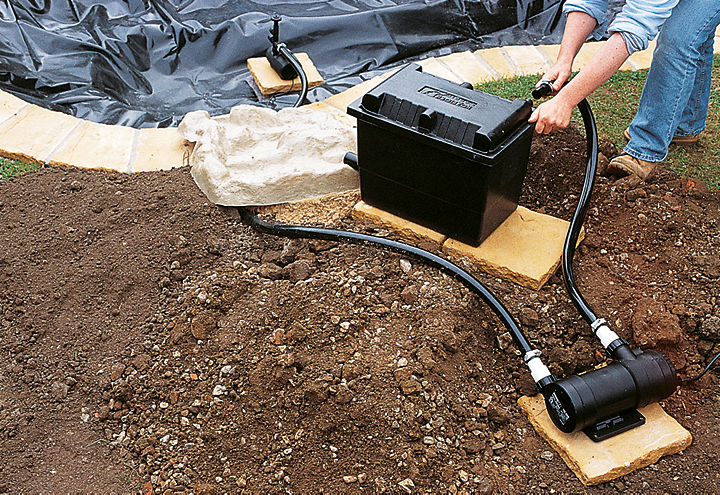
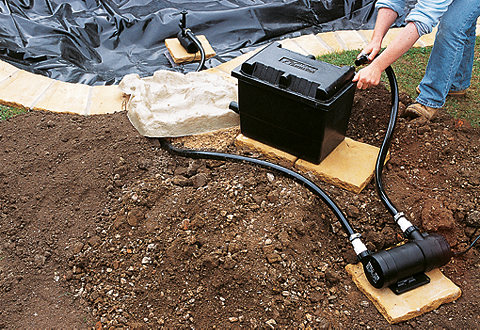
You'll find installing a pump easier when your pond is empty. You'll need to raise the pump off the bottom, as this stops debris clogging your filter and helps you reach it for cleaning. The pump shown here is a low-voltage model with a fountain head. It's connected to an ultra-violet clarifier and biological tank filter. You can connect it to the mains power in the same way as low-voltage garden lighting.
Safety first
A low-voltage pump is quite straightforward to install and connect, but remember that water and electricity are a lethal mix. If you're in any doubt about your ability to carry out the installation yourself, call in an electrician.


Step 1
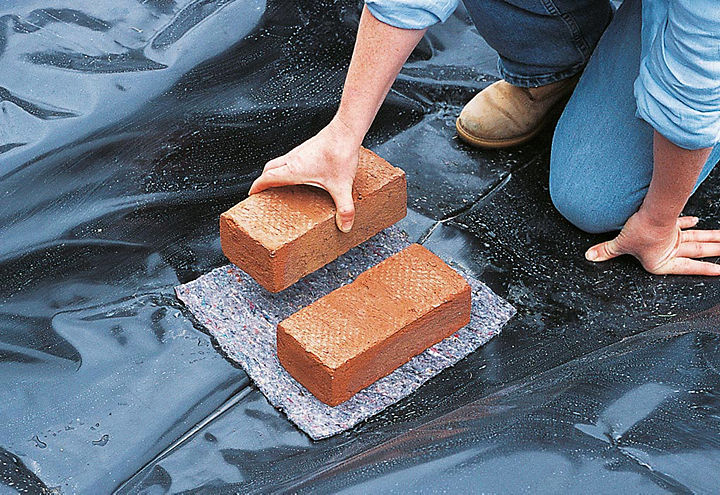
Lay a piece of pond underlay on the liner to protect it, and put two bricks on top as supports.


Step 2
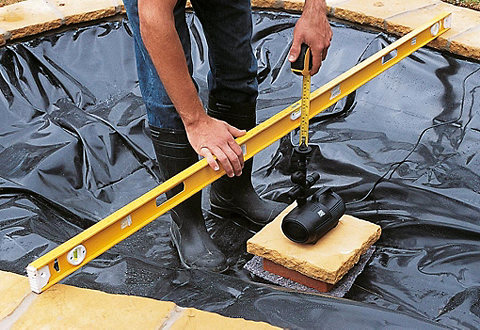
Rest a slab or a flat stone on the bricks and stand the pump on it. Then put a spirit level placed on the pond edging, and use it to determine where to put your fountain head. You should set this about 3mm-5mm above the water level.


Step 3
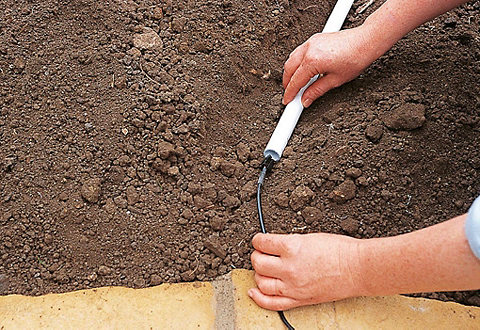
Make sure your pump's underground cables are protected. We've run the low voltage cable shown in the picture through a plastic conduit, as it goes through a rockery beside the pond.

Step 4
Attach the 25mm pipe to the pump outlet using a jubilee clip. This pipe will lead in turn to the ultra-violet clarifier and biological filter.

Step 5
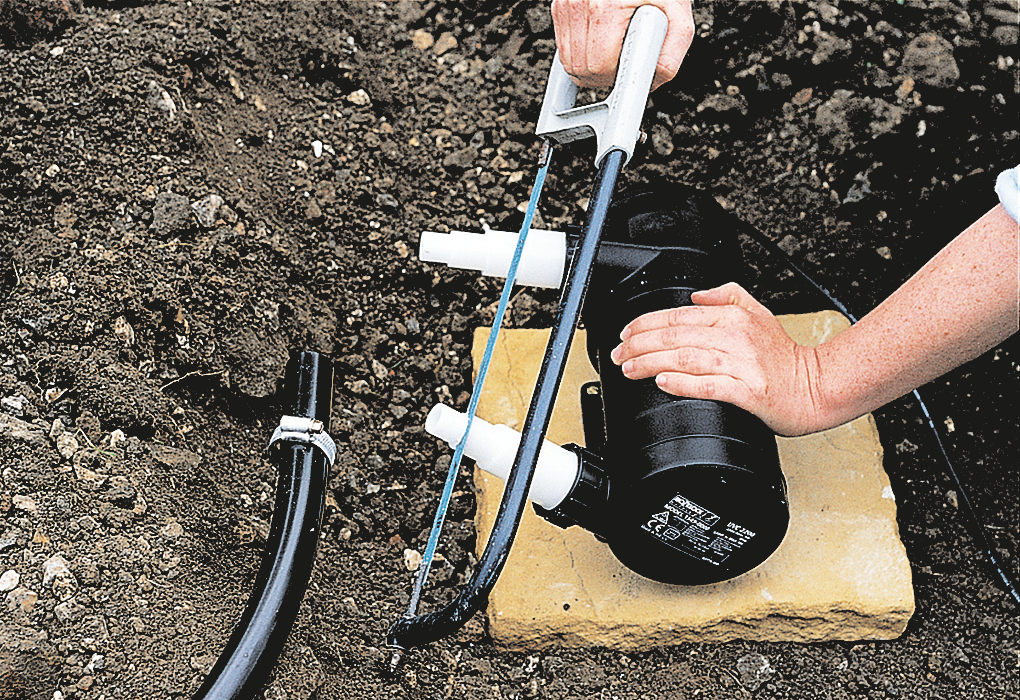
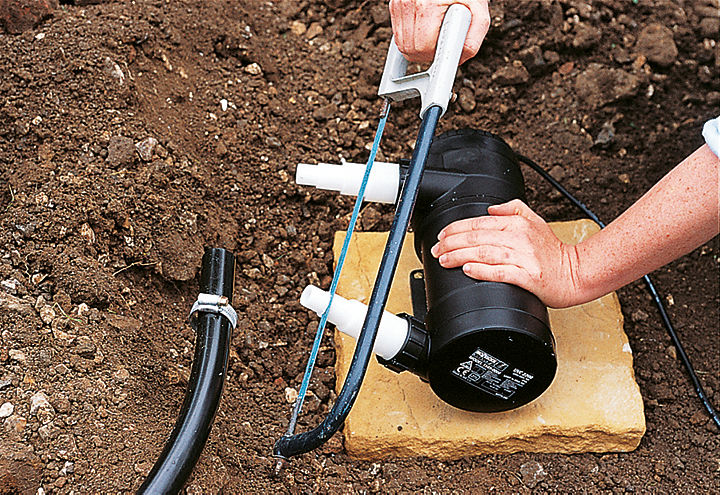
Use a hacksaw to cut the end off the pipe attachment on the ultra-violet clarifier, so it fits the size of your pipe and lets you connect it. Remember that an ultra-violet clarifier needs its own electricity supply, and make sure you follow the manufacturer's instructions when you connect it.
Step 6
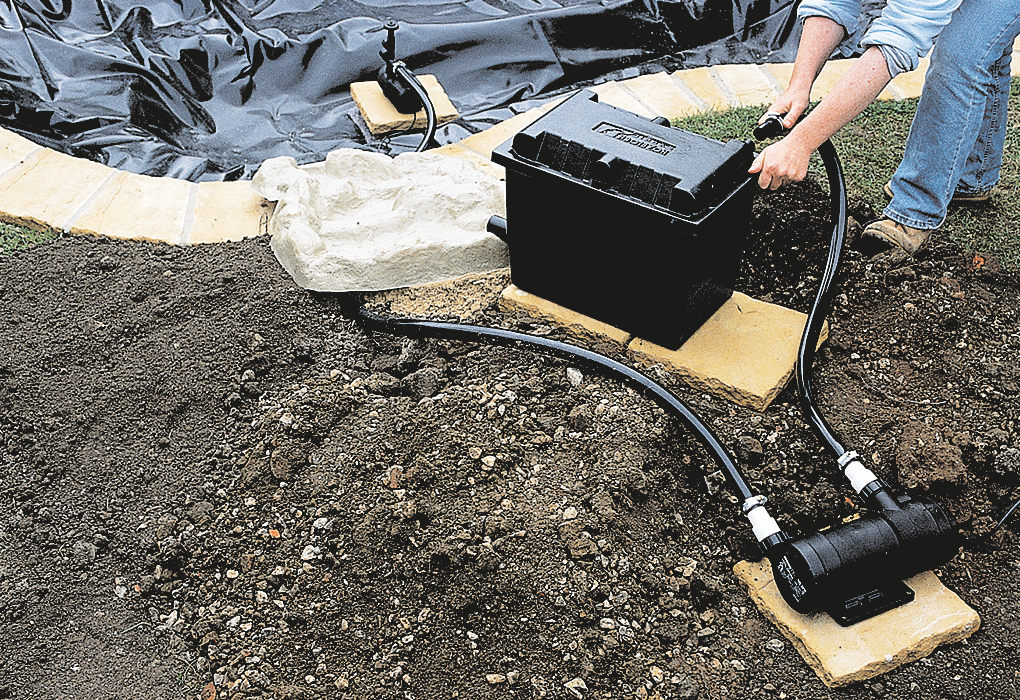
Put the tank filter in a position that's higher than the pond (in this case, its outlet will feed a waterfall). Connect a pipe from the ultra-violet unit outlet to the tank inlet.
Even when your pond has filters, it's important to have plants in it to keep the water healthy. Try and cover about a third of your pond's surface with foliage during the growing season - it deprives algae of the light they need to flourish. Lilies, which have large leaves, are ideal for this.
It's also a good idea to add deep-water aquatics and floating plants, as they'll starve the algae of mineral salts. Aquatic plants don't need rich soil, so use aquatic compost or a heavy garden soil. But try to avoid soils that are too sandy or contain farmyard manure.
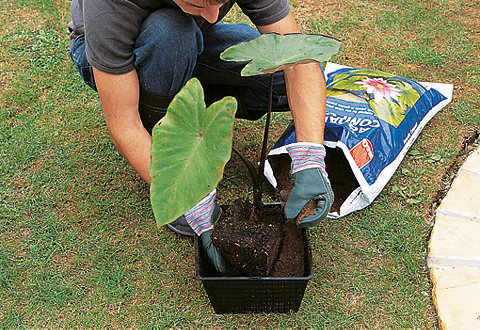
Step 1
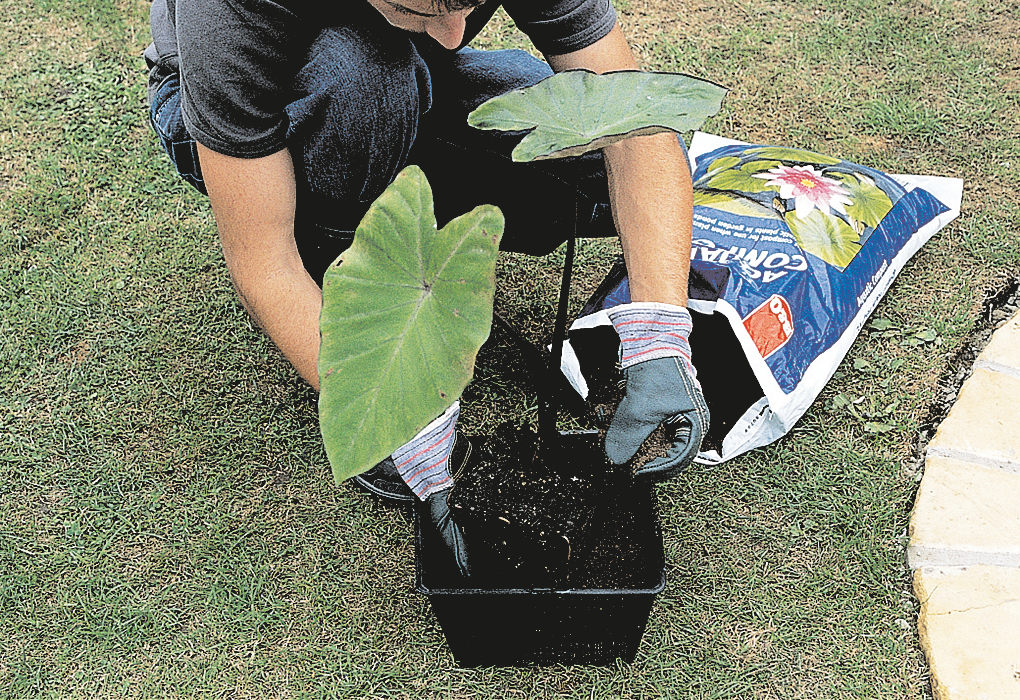
For most ornamental ponds, you should anchor your plants in special planting baskets with latticework sides. These retain the soil while allowing water to get through. Modern baskets also have micro-mesh sides that stop the soil making the water dirty. If your basket has large holes, it's worth lining it with a square of hessian before filling it with compost. If you've got tall plants like bulrushes, put a brick in the bottom of the basket before you pour in the compost and plant them. This'll keep them stable.
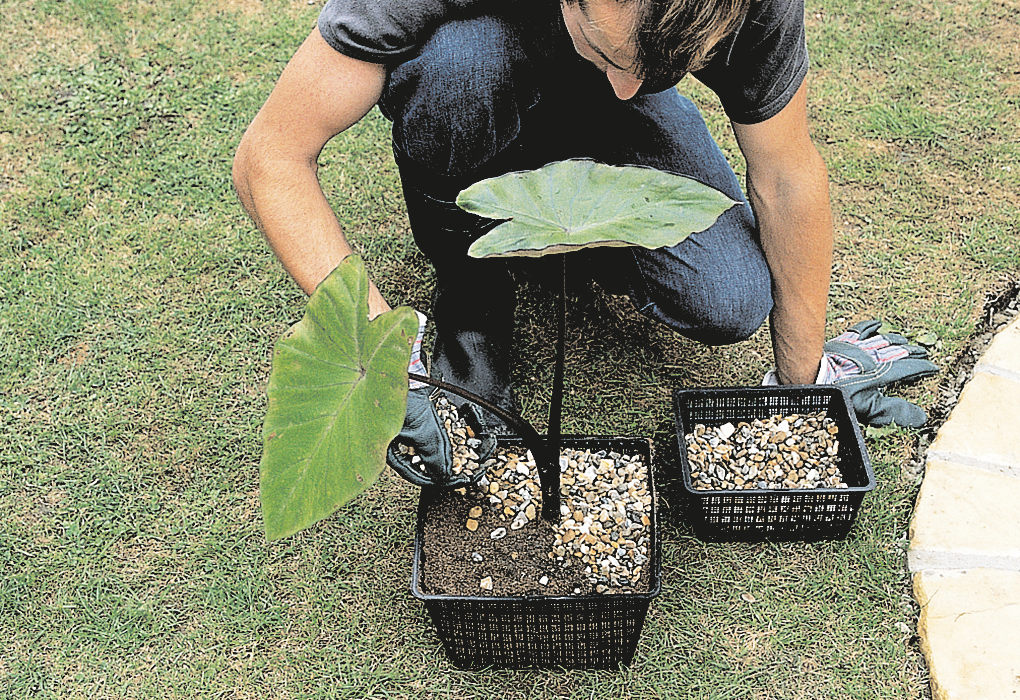
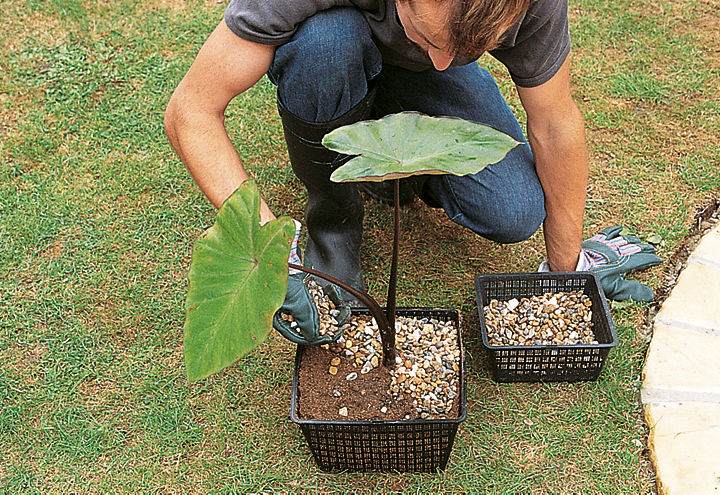

Step 2
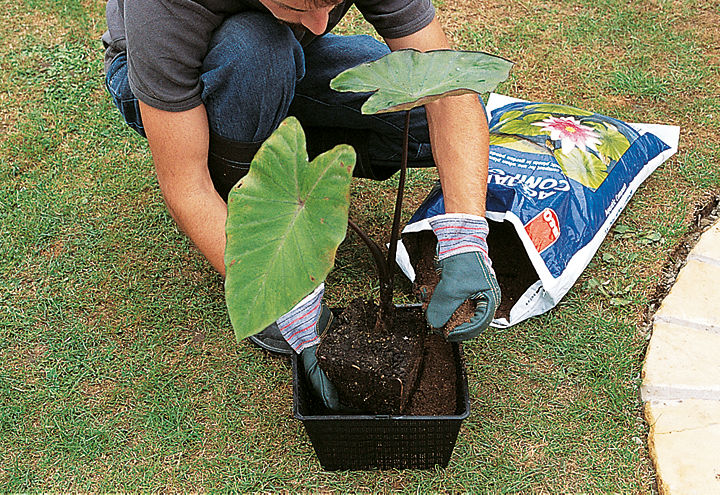
If you think the pond plant you've chosen will soon outgrow its basket, re-pot it into a larger one. Add clean gravel as a topping around the stem to stop losing any soil from the surface of your pot. Then gently lower the plant into your pond.