
How to re-grout tiles
Re-grouting your tiles is an affordable and quick way of bringing your kitchen or bathroom back to life. Our easy-to-follow guide will show you just how simple it is to re-grout your existing tiles and freshen up your space.
What you'll need:
- Dust mask
- Safety gloves
- Vacuum cleaner
- Dust sheets
- Scraper
- Goggles
- Sponge
- Cloth
- Knee pads
- Grout remover
- Bucket
- Grout spreader
- Tile grout
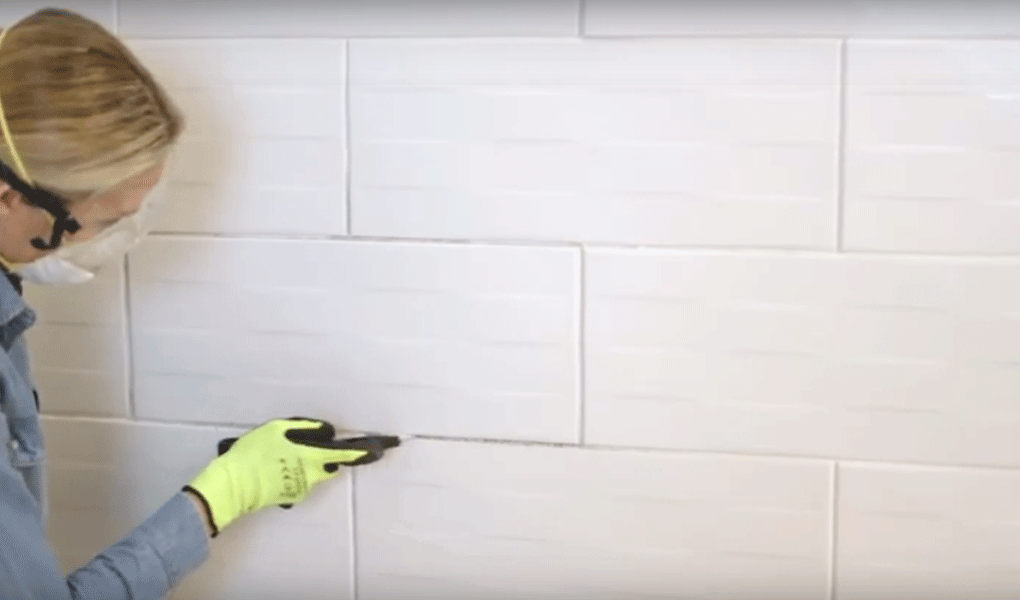
1. Remove the old grout
Use a grout removal blade to remove as much of the grout as possible. To do this, run the blade around the edge of the tiles, taking care not to damage the tiles. A scraper is useful to knock out any leftover pieces of grout. Don’t forget to hoover as you go to minimise dust.
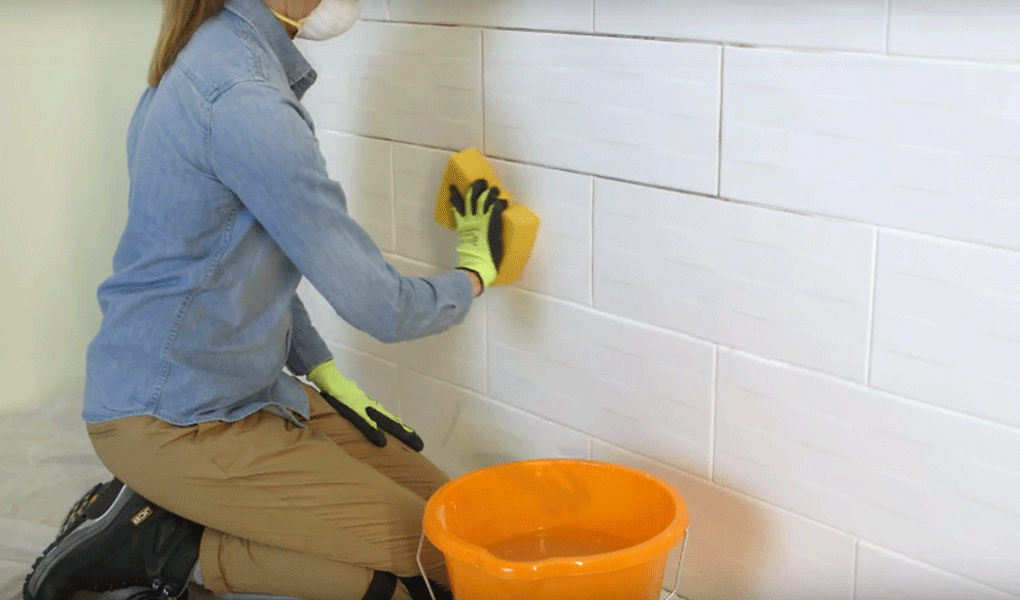
2. Clean the tiles
Once you’ve removed all the old grout, wipe over the tiles with a damp sponge to remove any dust. Leave the surface to dry thoroughly before re-grouting.
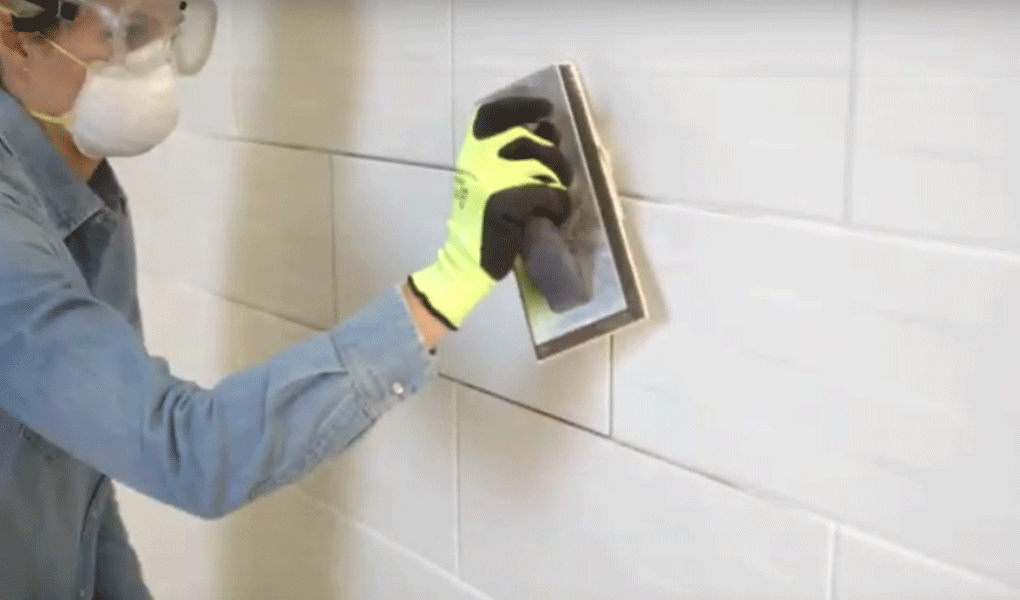
3. Apply the new grout
Once you’ve chosen your preferred grout, apply it to the tiles using a grout spreader. Use a diagonal motion to ensure it gets into all the gaps between the tiles. And use the edge of the spreader to scrape up excess grout and re-apply it to another area.
It’s best to work as quickly as you can and to wipe off excess grout as you go with a just-damp cloth. This will minimise the amount you have to scrub off later.
Tiled areas that meet another surface, such as a worktop, floor, window or door frame, should be left un-grouted and sealed with silicone later.
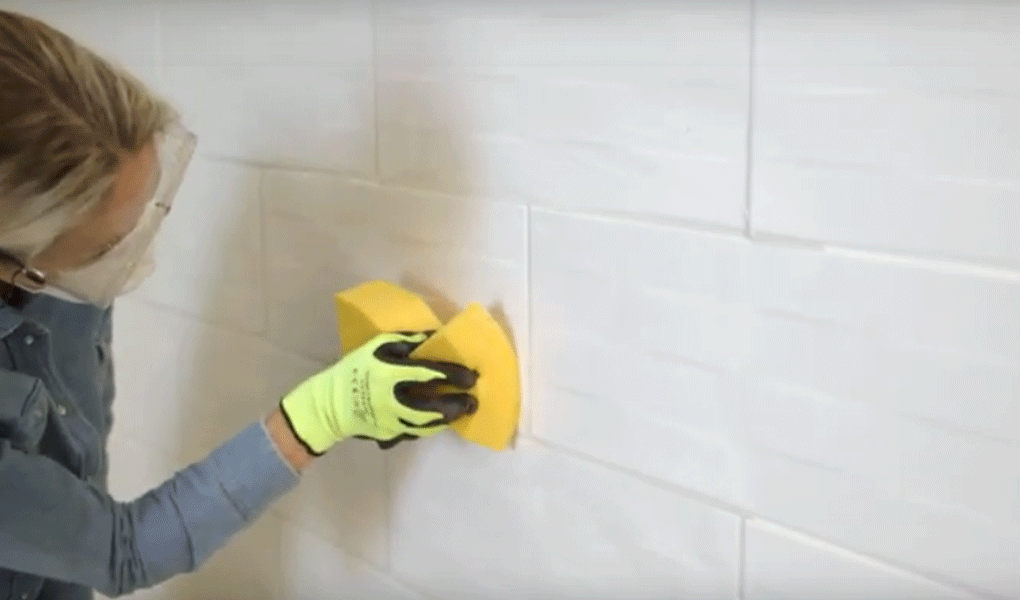
4. Wipe the tiles with a damp sponge
Once you’ve filled all the gaps with grout, leave to set for a few minutes. Then use the same diagonal motion to wipe the tiles with a damp sponge. Keep a bucket of water handy to rinse out the sponge as you go.
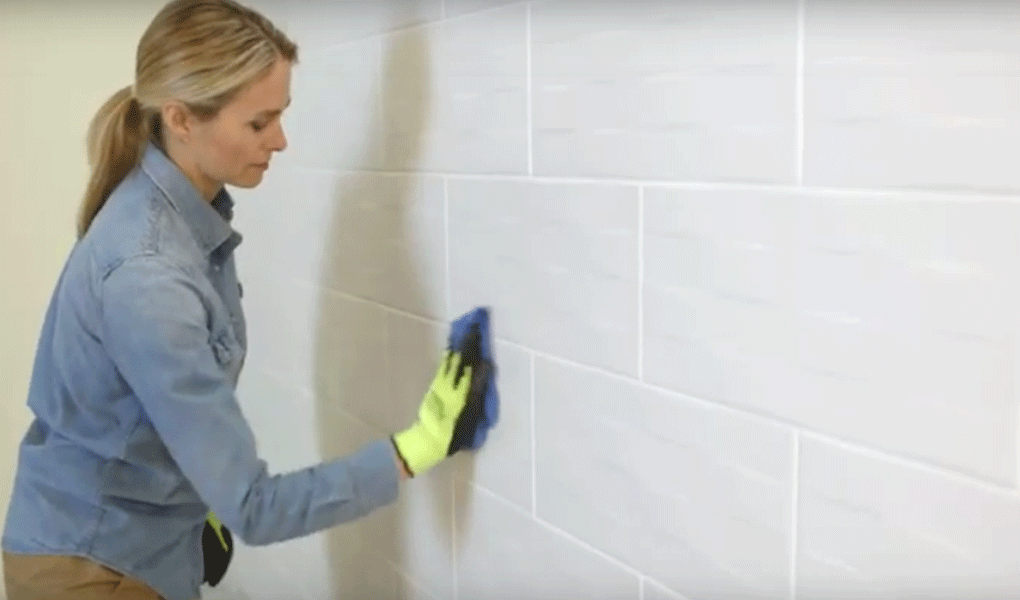
5. Final clean
After about an hour, use a dry cloth to polish and remove the thin layer of powder left on the tiles.