How to insulate water pipes
Insulating the floor of your loft will keep your house warmer – trapping heat in the main part of the home. However, this makes the loft space colder and so water pipes in the loft are more prone to freezing. Protect these pipes by lagging them.
Lagging simply means adding insulation to the water pipes and is easy to do with foam tubes. It prevents them freezing and also helps any exposed hot water pipes retain their heat when running through unheated parts of the house.
In this guide we’ll provide step-by-step advice on how to:
- Choose the right water pipe insulation for your pipes
- Lag the water pipes.
You will need
Materials
- Pipe insulation - also known as foam tubes. For more on choosing the right ones, see the section ‘What water pipe insulation is needed?'
- Duct tape
Tools
- Tenon saw – to cut pipe insulation
- Mitre box – to make precise cuts in the pipe insulation
- Tape measure
- Pen and paper – to note the dimensions of your water pipes, if needed
Before you begin
Safety kit and Safety first
Before tackling any loft project, head to our guide on loft safety.
It includes essential advice on how to move and work safely in the loft, as well as a full list of recommended protective clothing and other loft project must-haves. These items are not included in this article's list of materials and tools. Be sure to read and check you have everything you need to safely start insulating water pipes in your loft.
What water pipe insulation is needed?
Before you can lag your water pipes, it’s essential to measure their size. This will ensure you buy the right size of tubing to best fit. This means a trip into the loft.
If lagging water pipes as part of a loft floor insulation project, we recommend doing this before laying any insulation. This is because it can be difficult to access, measure and insulate water pipes once covered.
Measuring pipe sizes
In the loft, measure and note the diameter (width) of a visible length of pipe.
Our pipe insulation is available to fit three sizes of pipe diameter – 15, 22 or 28millimetres (mm). Choose the size that best fits your pipes.
Measuring pipe length
Measure and note the length of visible pipes to total an approximate length of pipe needed.
Our pipe insulation comes in two lengths – 1 or 2metres (m). Choose lengths that best suit how your pipes are configured.
How to lag water pipes
With the pipe insulation chosen, it's time to lag the water pipes.
1. Fit the pipe insulation
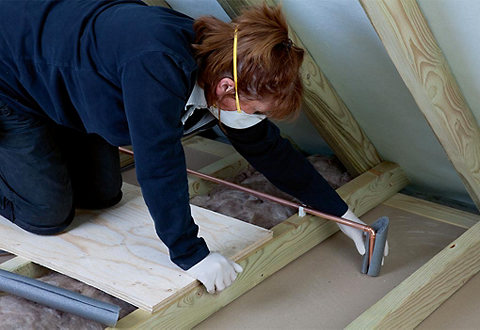
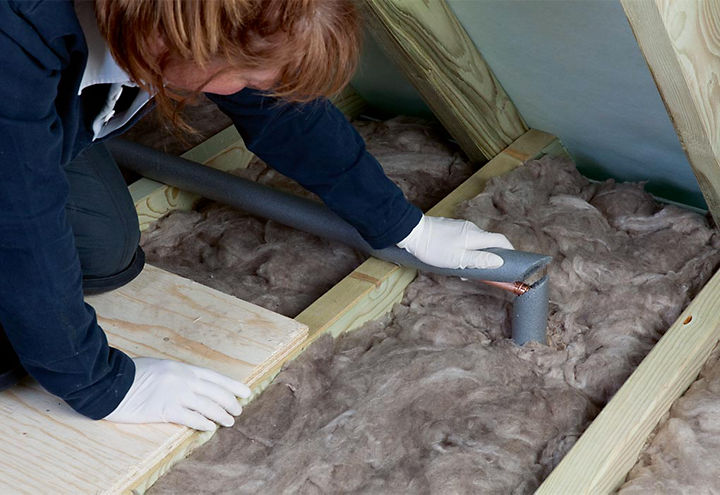
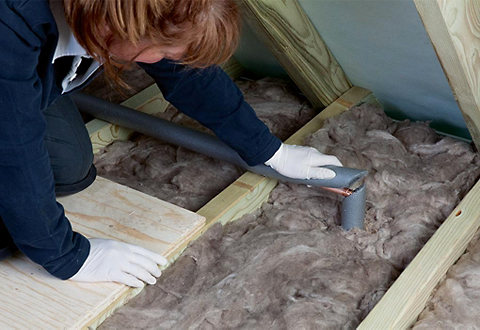
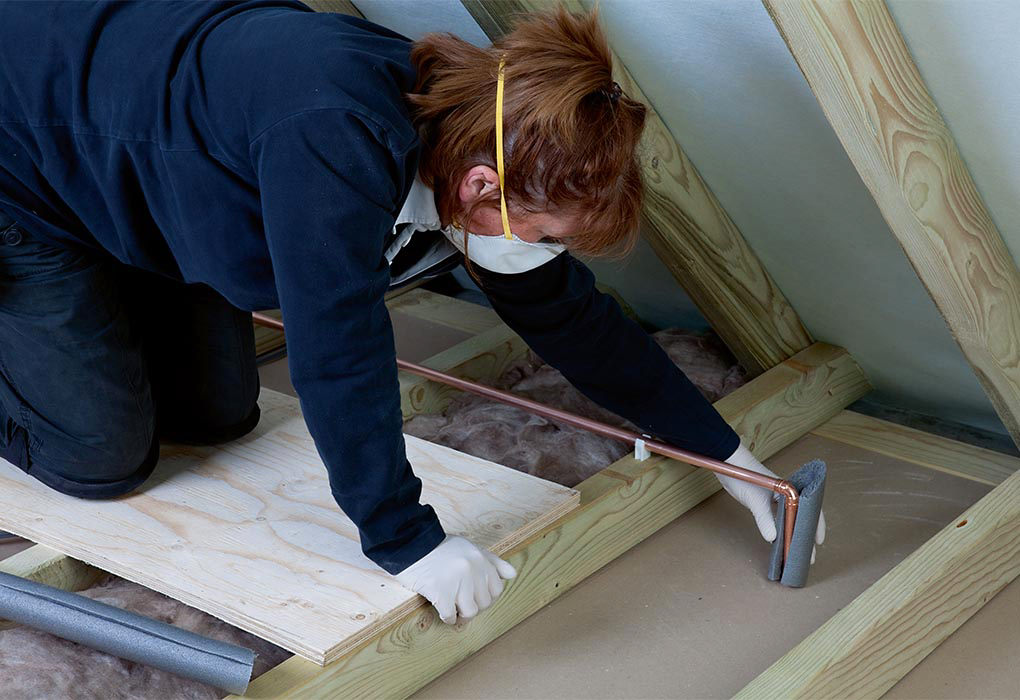
Open a length of pipe insulation along the pre-marked split and slide it onto the pipe. If you have pipes coming up through the loft floor or running along the joists, fold back the loft insulation, fit the pipe tube and then put the insulation back in place.
Continue insulating the whole length of the pipe run.
2. Insulating pipe bends
When you come to a bend in a pipe, cut the pipe insulation to ensure a close, tight join.
To do so, place the length of pipe insulation in a mitre box and cut a 45-degree angle with a tenon saw.
Butt the two cut lengths as close together as possible and tape the join using duct tape to ensure minimal heat loss.
3. Insulating around obstructions
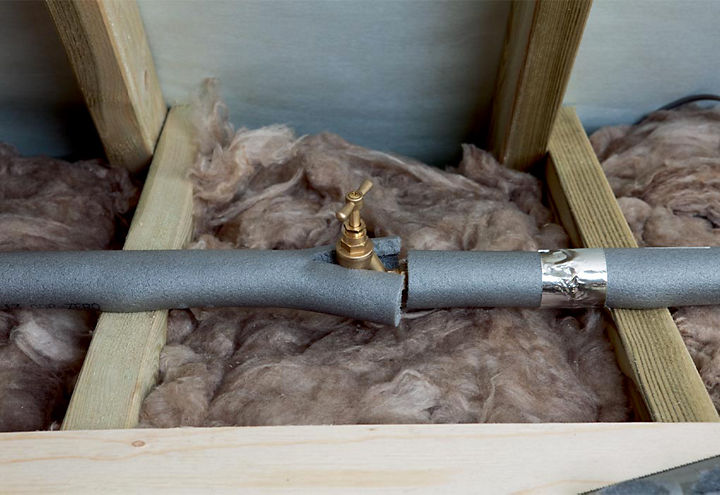
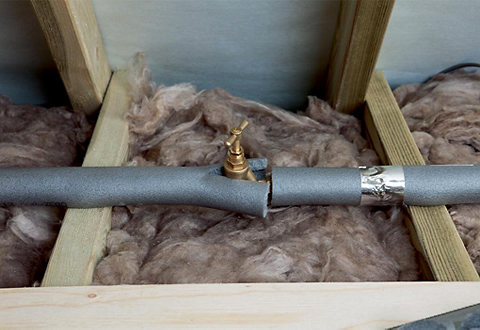
If you have a stopcock or any other obstruction like a tee joint, make a cut to one side of it. Then make a horizontal cut so the pipe insulation can wrap around the object.
Cut and place a small length of pipe tube over the tap handle and cover it with tape to hold it in place.
You will need
Materials
- Pipe insulation - also known as foam tubes. For more on choosing the right ones, see the section ‘What water pipe insulation is needed?'
- Duct tape
Tools
- Tenon saw – to cut pipe insulation
- Mitre box – to make precise cuts in the pipe insulation
- Tape measure
- Pen and paper – to note the dimensions of your water pipes, if needed
Before you begin
Safety kit and Safety first
Before tackling any loft project, head to our guide on loft safety.
It includes essential advice on how to move and work safely in the loft, as well as a full list of recommended protective clothing and other loft project must-haves. These items are not included in this article's list of materials and tools. Be sure to read and check you have everything you need to safely start insulating water pipes in your loft.
What water pipe insulation is needed?
Before you can lag your water pipes, it’s essential to measure their size. This will ensure you buy the right size of tubing to best fit. This means a trip into the loft.
If lagging water pipes as part of a loft floor insulation project, we recommend doing this before laying any insulation. This is because it can be difficult to access, measure and insulate water pipes once covered.
Measuring pipe sizes
In the loft, measure and note the diameter (width) of a visible length of pipe.
Our pipe insulation is available to fit three sizes of pipe diameter – 15, 22 or 28millimetres (mm). Choose the size that best fits your pipes.
Measuring pipe length
Measure and note the length of visible pipes to total an approximate length of pipe needed.
Our pipe insulation comes in two lengths – 1 or 2metres (m). Choose lengths that best suit how your pipes are configured.
How to lag water pipes
With the pipe insulation chosen, it's time to lag the water pipes.
1. Fit the pipe insulation
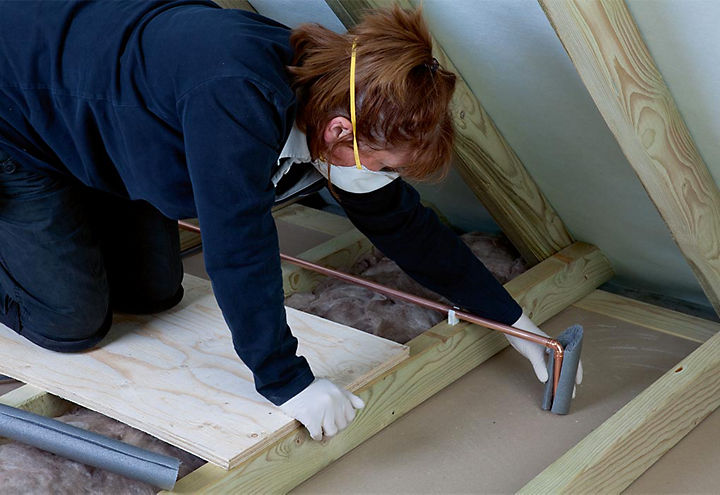
Open a length of pipe insulation along the pre-marked split and slide it onto the pipe. If you have pipes coming up through the loft floor or running along the joists, fold back the loft insulation, fit the pipe tube and then put the insulation back in place.
Continue insulating the whole length of the pipe run.
2. Insulating pipe bends
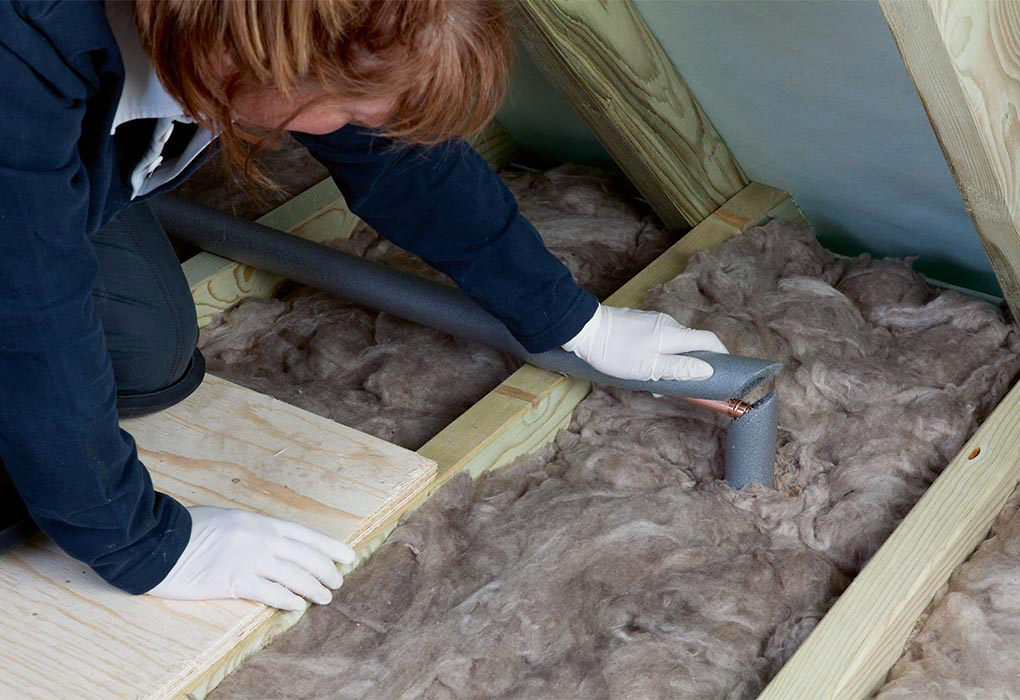
When you come to a bend in a pipe, cut the pipe insulation to ensure a close, tight join.
To do so, place the length of pipe insulation in a mitre box and cut a 45-degree angle with a tenon saw.
Butt the two cut lengths as close together as possible and tape the join using duct tape to ensure minimal heat loss.
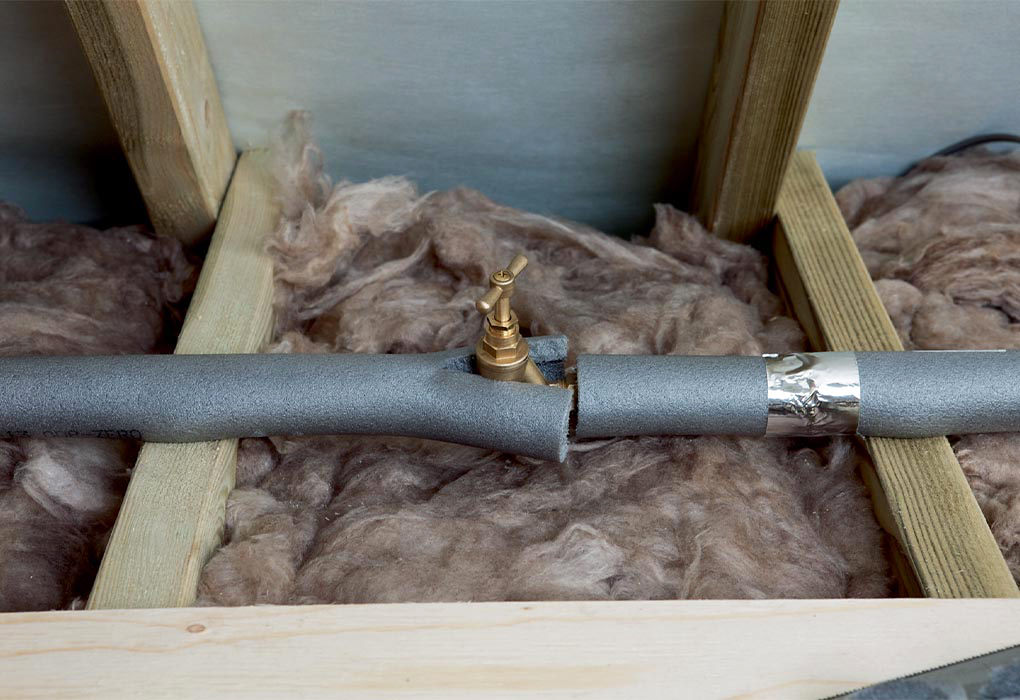
3. Insulating around obstructions
If you have a stopcock or any other obstruction like a tee joint, make a cut to one side of it. Then make a horizontal cut so the pipe insulation can wrap around the object.
Cut and place a small length of pipe tube over the tap handle and cover it with tape to hold it in place.
Frequently Asked Questions
- What does lagging a pipe mean?
Lagging a pipe means covering it with insulating material to reduce heat loss and help prevent freezing and condensation. Common lagging includes foam or rubber tube sections, wraps and foil-backed insulation, which you cut to length, slit and push over the pipe, then seal joints with tape or adhesive. Properly fitted lagging improves energy efficiency, keeps hot water hotter and cold pipes dry, and is suitable for both exposed and accessible pipes in lofts, garages and under sinks.
- Is it worth lagging pipes?
Yes, lagging pipes is usually worth doing. It reduces heat loss from hot water systems, helps prevent pipes freezing in cold spaces, cuts energy use and running costs, and reduces condensation on cold pipes. It’s particularly beneficial for exposed pipes in lofts, garages, basements and unheated rooms. Pipe insulation is low cost, simple to fit, and can extend the life of your plumbing by reducing temperature-related stress and corrosion.
- What pipes need to be lagged?
Any exposed pipes in unheated or poorly insulated areas should be lagged. This includes water supply and drain pipes in lofts, garages, basements, underfloor voids, external walls and around outside taps, as well as exposed hot water pipes and cylinder connections to reduce heat loss. Lagging frozen-prone runs helps prevent bursts in cold weather, while insulating cold-water pipes can reduce condensation and improve energy efficiency.
- What is the best lagging for pipes?
Closed-cell foam pipe insulation is generally the best all-round choice, offering good thermal performance, moisture resistance and easy fitting. Choose the correct internal diameter and a thicker wall for cold water or outdoor pipes to prevent freezing, or insulated rubber/neoprene if you need higher temperature tolerance or a more durable, weatherproof finish. Always seal joins with appropriate tape or adhesive to maintain effectiveness.