
How to paint your wall like a pro
Get ready to renovate
Are your walls in desperate need of a refresh? Have you been staring at flaking and faded paint in despair, but you're not sure where to start? What if we told you that you could have walls you can be proud of again in just one day? Well, the bad news is you're out of excuses, because our shopping list, timetable and video guide is the answer to all your painting prayers.
Before you start


A fresh coat of paint can make all the difference to the atmosphere of your room, even a lick of brilliant white can have a bigger impact than you might think.
If you're undecided on a colour, pick up some tester pots. Try painting your options on to white paper and stick them to the wall with masking tape, stand back and see which ones look the best, taking your whole room into account.
Top tip
Cover your furniture and flooring with dust sheets the night before you start your painting project. That way you can get stuck in straight away the next morning.


Project shopping list
If you can't make it into one of our stores try click + collect. Many of our products are ready in just four hours, and even more are available the next day. Simply pay for your items online, and pick up free of charge from your nearest B&Q store.
| Materials | Tools | Safety |
|---|---|---|
| Walls & ceiling paint | Paint brush | Goggles |
| Masking tape | Roller | |
| Primer | Roller tray | |
| Filler | Sandpaper |
Paint your walls like a pro
Before you begin painting your walls make sure the surfaces are prepared for the job so you’re left with a finish to be proud of. Take a look at our ‘Prepping your walls for painting’ article for handy tips.


Step 1, 7am: To make sure you get a smooth, professional finish, examine the surface of the wall for flaking paint, bumps and holes.
Use filler for any cracks and holes. Let it dry, sand down the surface and seal with sealant. For flaking paint and bumps use a scraper to even the surface before sanding and sealing.
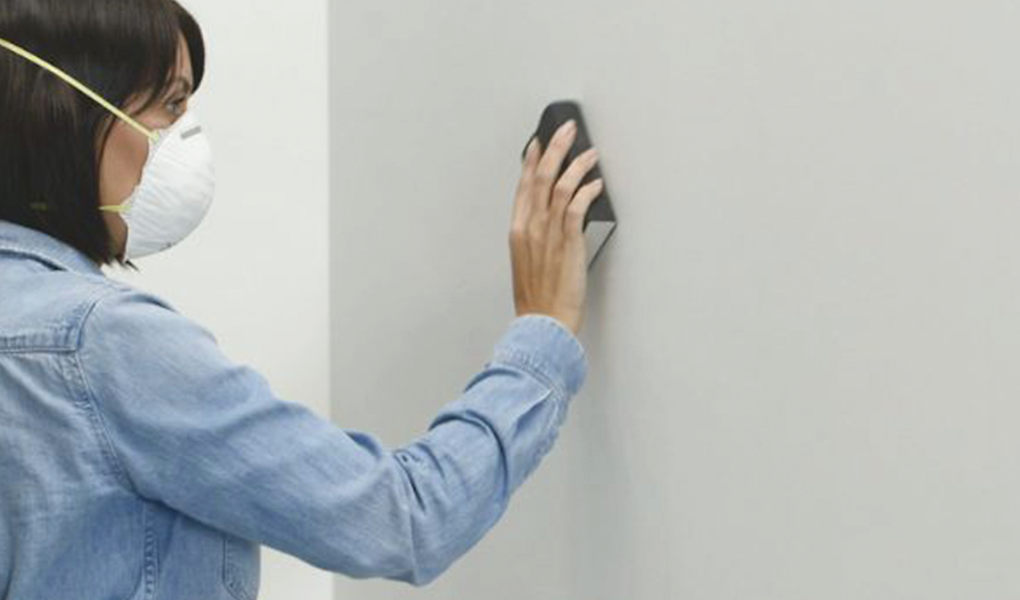
Step 2, 8am: If your previous paint is satin or gloss it's a good idea to rub the walls down with sandpaper.
Use gentle pressure in a circular motion - this will help to create a layer that'll help the paint stick.


Step 3, 10am: Clean your wall thoroughly to remove any dirt or dust by diluting some sugar soap in a bucket of water - read the instructions on the product for exact measurements. Make sure you're dressed for the job and wear gloves and goggles, as sugar soap can be an irritant.
Use a large sponge to apply the mixture and work it into the surface. Next, refill your bucket with clean water and wipe the wall clean.


Step 4, 11am: Once the wall is dry, cover switches, sockets and skirting boards with masking tape. If you're painting it a different colour to the ceiling or adjacent walls, run masking tape along the edges so you get a nice, clean finish.
Between coats, remove and reapply masking tape to avoid the adhesive removing any paint
12pm: Lunch time! You've earned it.


Step 5, 12:30pm: Now it's time to start painting. If you're painting over a darker colour use a primer first - we recommend a grey one to make it easier to cover.
Stir the paint thoroughly before starting. Apply with a roller in an M or W motion, using a small brush or roller for the edges and corners.
3pm: Put the kettle on while the paint is drying.
Step 6, 4pm: If the wall needs another coat, now's a good time to apply it so it has a chance to dry. Two coats are usually recommended, but check the directions on your paint for guidance.
Step 7, 8pm: The paint should be dry to touch by now, which means you can carefully remove the masking tape and pack away your dustsheets. Clean your brushes and rollers, and show off your new wall to the world!
For more advice and some great tips and tricks, watch our video guide below.
Top tip
Washing up those paint brushes can be a chore, but with our ready to use paint brush cleaner your brushes will be as good as new in no time!


